Your bumper looks fine again. The paint matches, the panel gaps are tight, and then you put the car in reverse and get a continuous beep, a flashing warning, or a parking assist system that has simply given up. Nothing is more annoying after paying for bodywork.
Here is the short version: most parking sensors do not need a "reset" at all. They need to be checked for the basics first, and only then does a system reset or a calibration make sense. This guide walks you through both, in the right order, so you do not waste an afternoon chasing a fault that is really just a loose connector.
Why do parking sensors act up after a bumper repair?
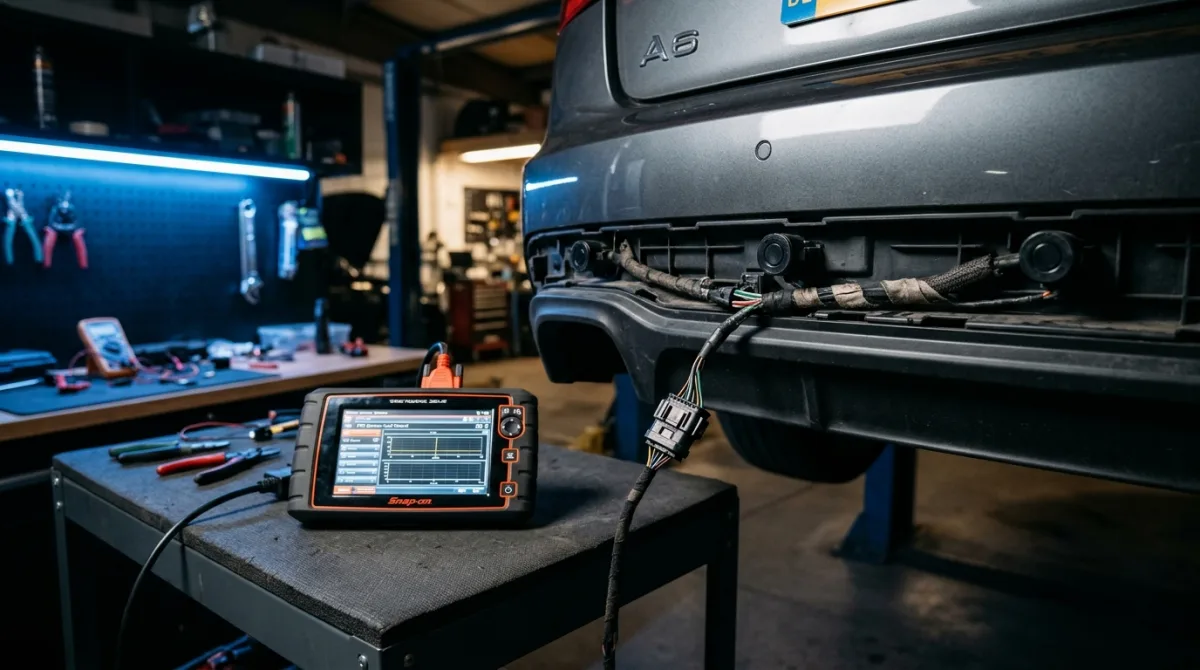
Parking sensors are simple devices that get treated badly during bodywork. Each sensor is an ultrasonic transducer mounted in the bumper, wired back to a control module. To remove and refit a bumper, a technician unclips the harness, moves the sensors, and sometimes repaints the whole panel.
Any of those steps can leave the system confused. The sensor might be plugged in but not seated, the connector might be pushed on halfway, or the bumper might have gone back on with a sensor slightly rotated. On some cars, a replaced bumper or a sensor moved to a new position also needs a calibration so the module knows the new geometry.
The mistake most owners make is jumping straight to a battery disconnect or a scan tool reset. That clears the symptom for ten minutes and then the beep comes back, because the underlying physical problem was never fixed.
First, the safety line you should not cross
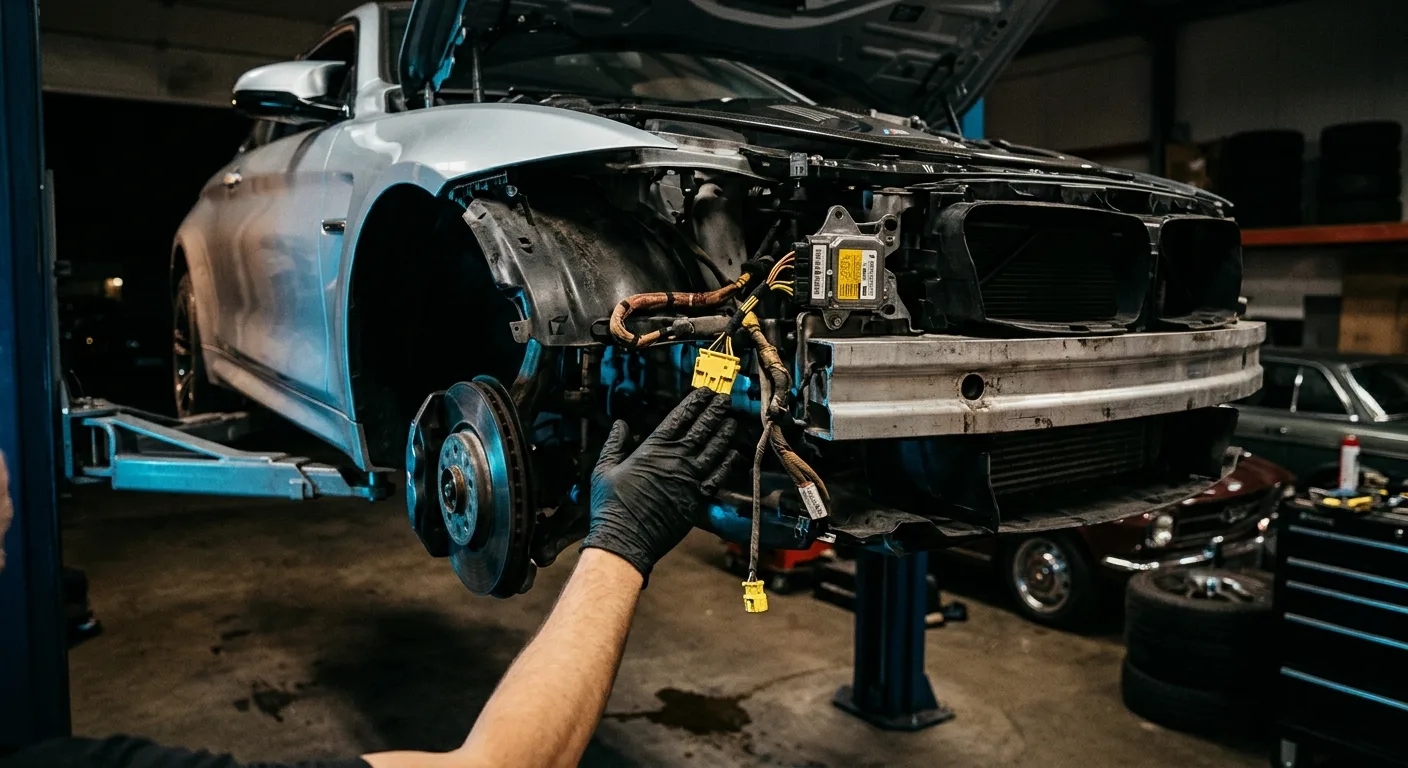
Before anything else: parking sensor work is low-voltage (12V) territory. Unplugging a sensor, checking a fuse, and disconnecting the 12V battery are jobs a careful owner can do with basic tools.
High-voltage traction battery work is different. Never touch orange cables, the traction battery pack, or the high-voltage components behind the bumper on an EV. If your repair involved anything near those, or if you are unsure, stop and book a qualified technician. That is not caution for its own sake; it is the difference between a working car and a serious injury.
Do parking sensors actually have a reset button?
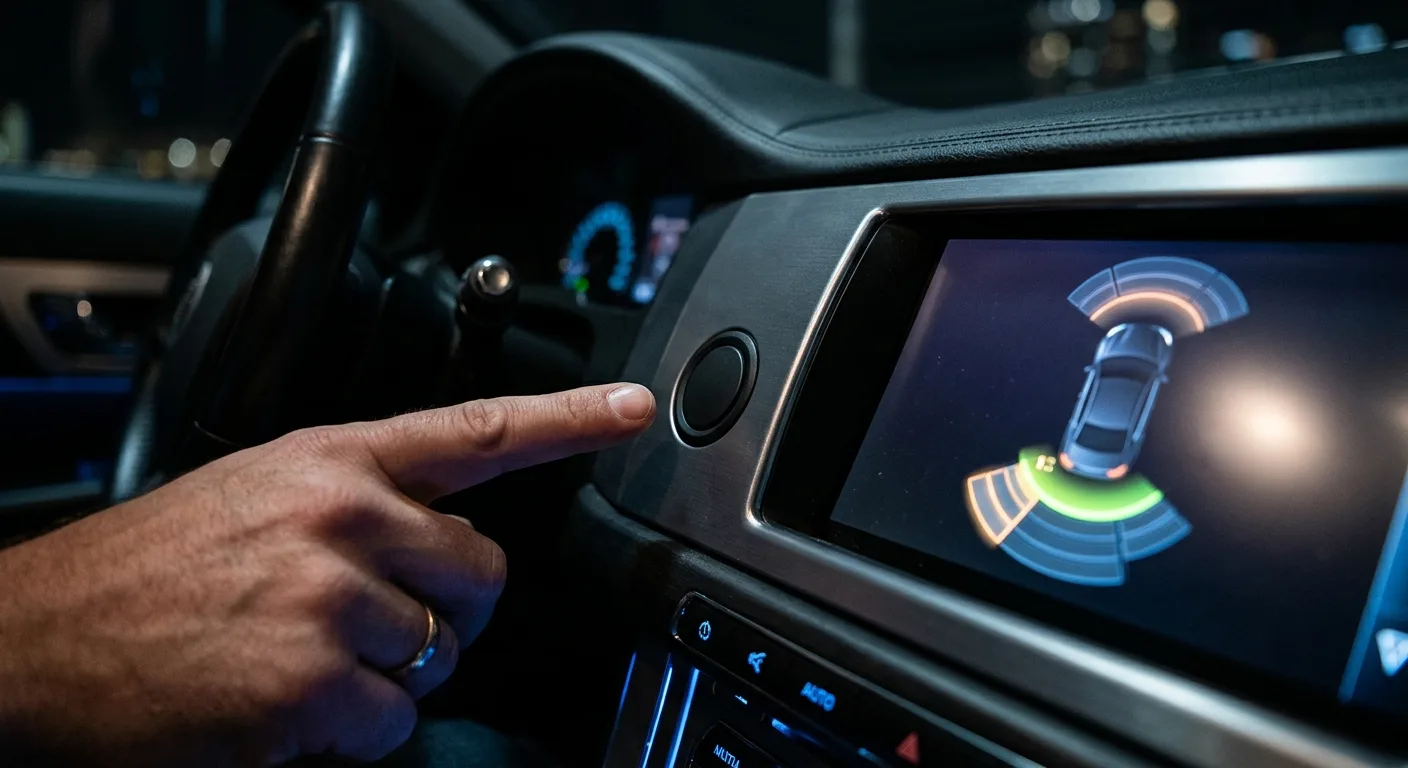
Almost never. A handful of models have a menu option to switch parking assist on or off, but there is no universal "reset parking sensors" button hiding in the settings.
What people call a reset is usually one of three things: clearing a stored fault code with a scan tool, running a calibration procedure, or simply power-cycling the module by disconnecting the battery. Each does something different, and only one of them is likely to help you.
Check these before you reset anything
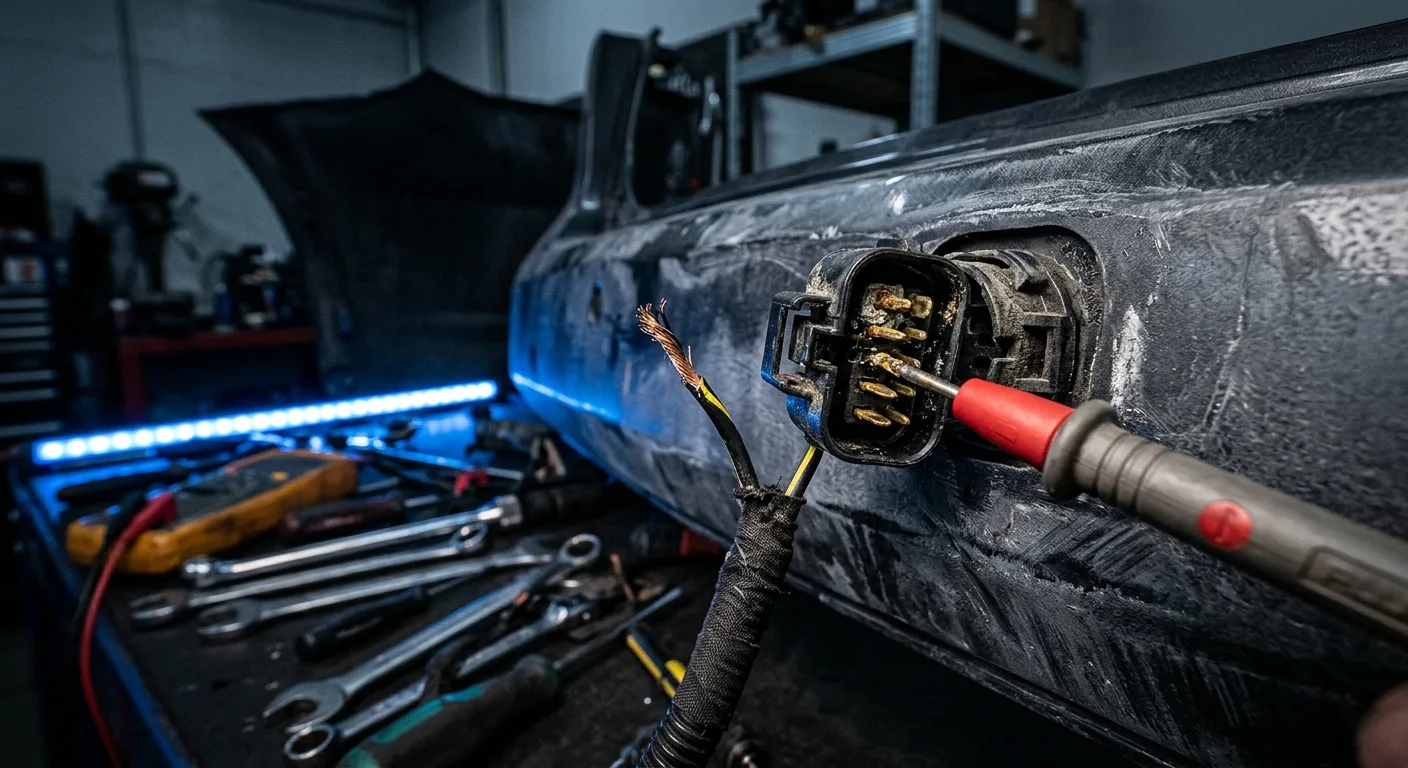
Work through this in order. It takes fifteen minutes and saves you from resetting a system that was never broken.
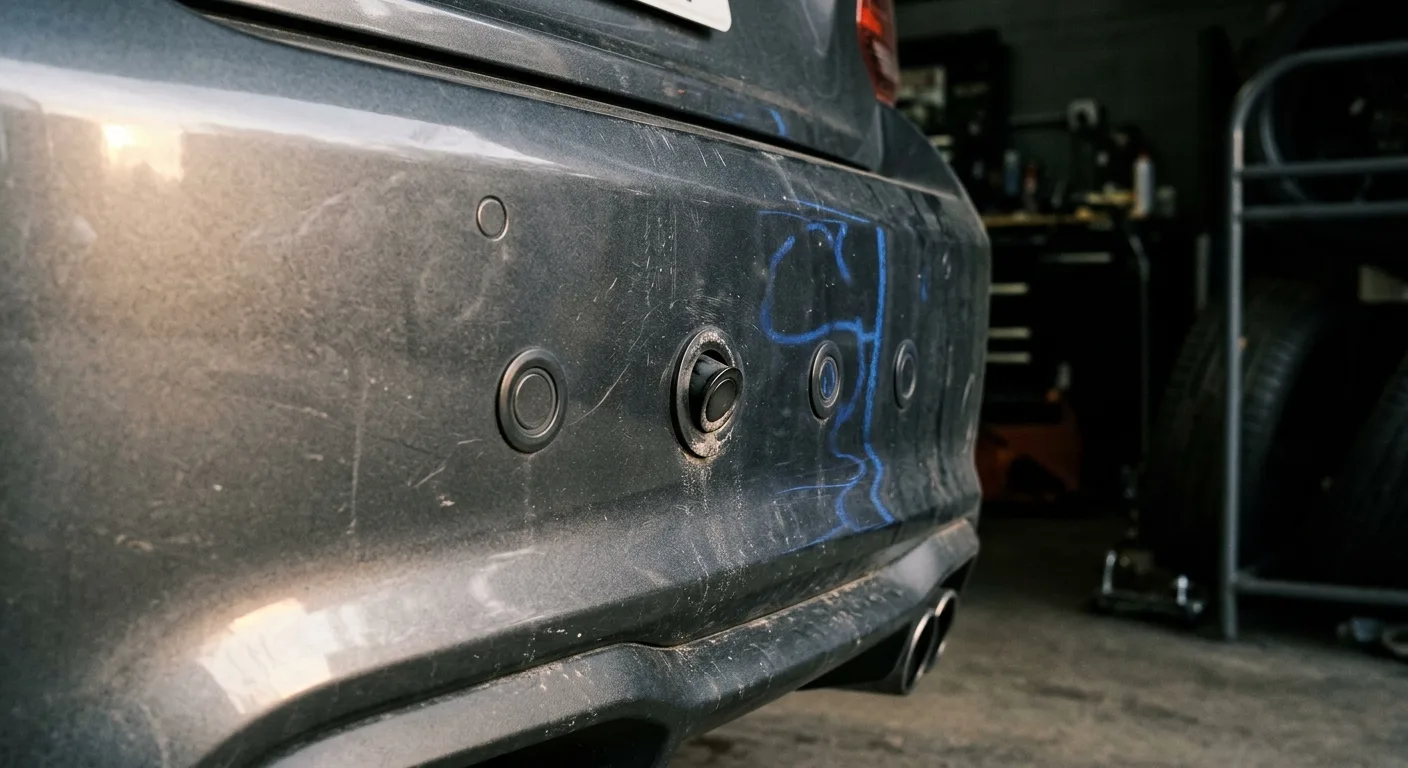
- Look at the sensors. Are they flush with the bumper, clean, and free of paint overspray? A sensor that got a coat of primer and paint will behave like a wall.
- Check for physical damage. A sensor pushed in, cracked, or sitting at an angle after the bumper went back on is a common post-repair fault.
- Listen and feel. With the car in reverse and someone watching, each sensor should tick faintly. A dead one points to a wiring or sensor problem, not a software one.
- Check the fuse. A blown fuse for the parking assist module is easy to miss. Our EV diagnostic and fuse guides cover how to locate and test fuses safely.
- Inspect the connectors. If you can reach them without removing the bumper, make sure each sensor plug is fully seated and the pins are not bent.
If all five pass and the system still misbehaves, then a reset or calibration is the right next step.
The reset options, compared
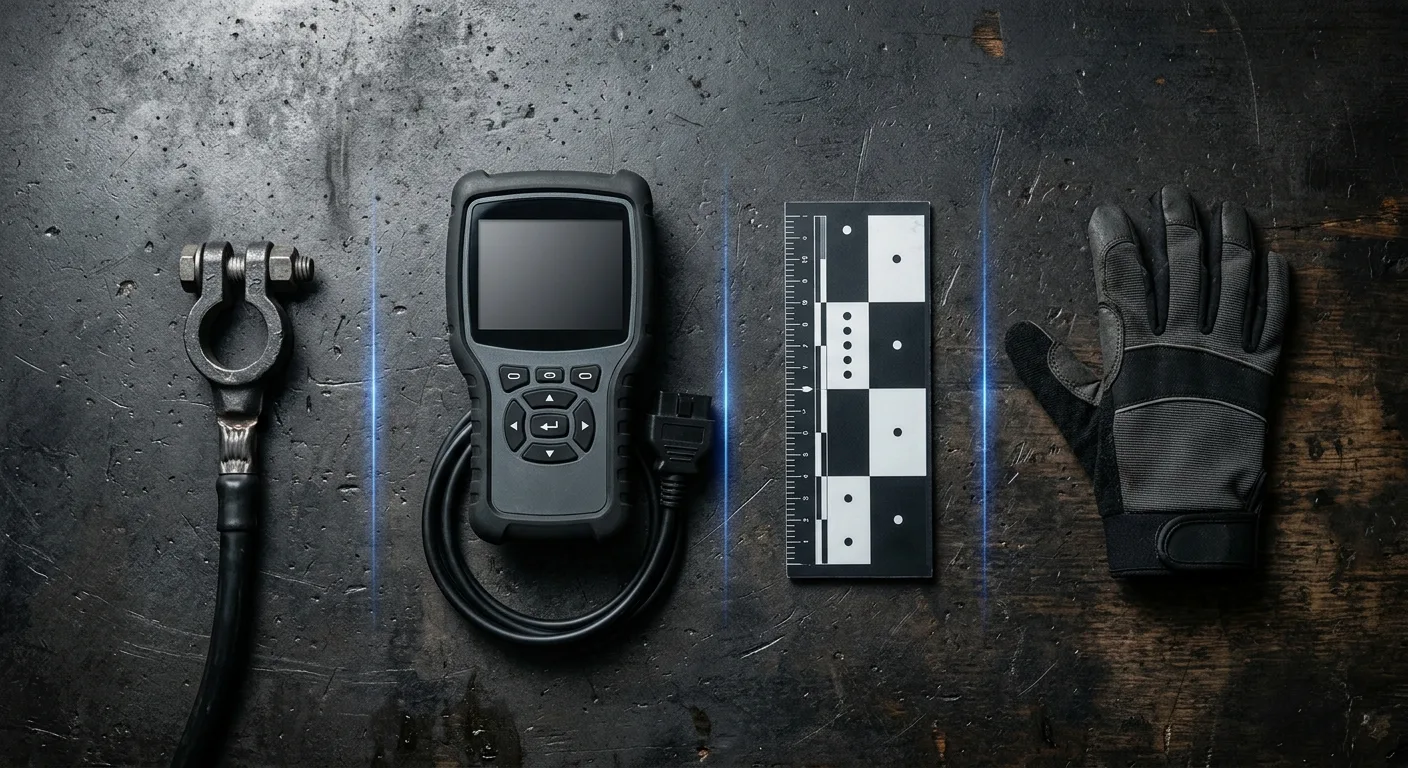
There are four realistic routes. They differ in cost, risk, and how much they actually fix.
| Option | What it does | Best for | Watch out for | Rough cost |
|---|---|---|---|---|
| 12V battery disconnect | Power-cycles the module, clears temporary faults | A one-off glitch after refitting | Does not fix wiring or calibration issues; may reset radio and clock settings | Free |
| OBD scan tool reset | Reads and clears stored parking sensor fault codes | Confirming which sensor is flagged | Cheap tools may not access the parking module at all | Budget to mid-range tool price; verify compatibility |
| Calibration procedure | Teaches the module the new bumper geometry | A replaced bumper or repositioned sensor | Often needs a dealer-level tool or specific driving procedure | Varies widely; ask your dealer |
| Professional diagnostic | Full fault trace plus calibration | Persistent faults, warranty cars, anything near HV wiring | Costs money, but ends the guessing | Hourly labour rate; confirm before booking |
Option 1: the battery disconnect
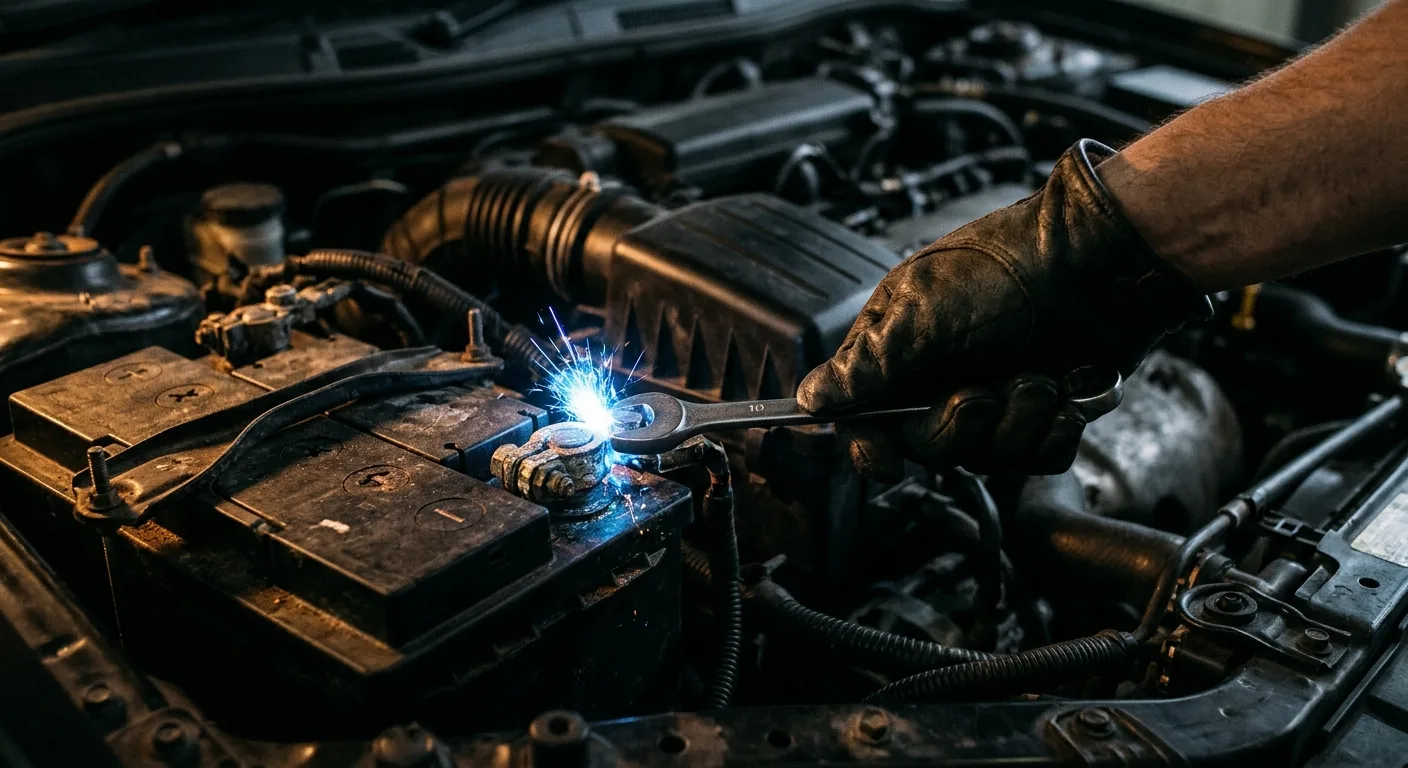
Disconnect the negative terminal on the 12V battery, wait a few minutes, and reconnect. This is the classic DIY reset and it costs nothing.
It works when the fault was a transient glitch during the repair. It does nothing for a loose connector or a sensor that needs calibration. On modern EVs, expect to lose some settings and possibly need to re-pair your phone.
Option 2: the scan tool reset
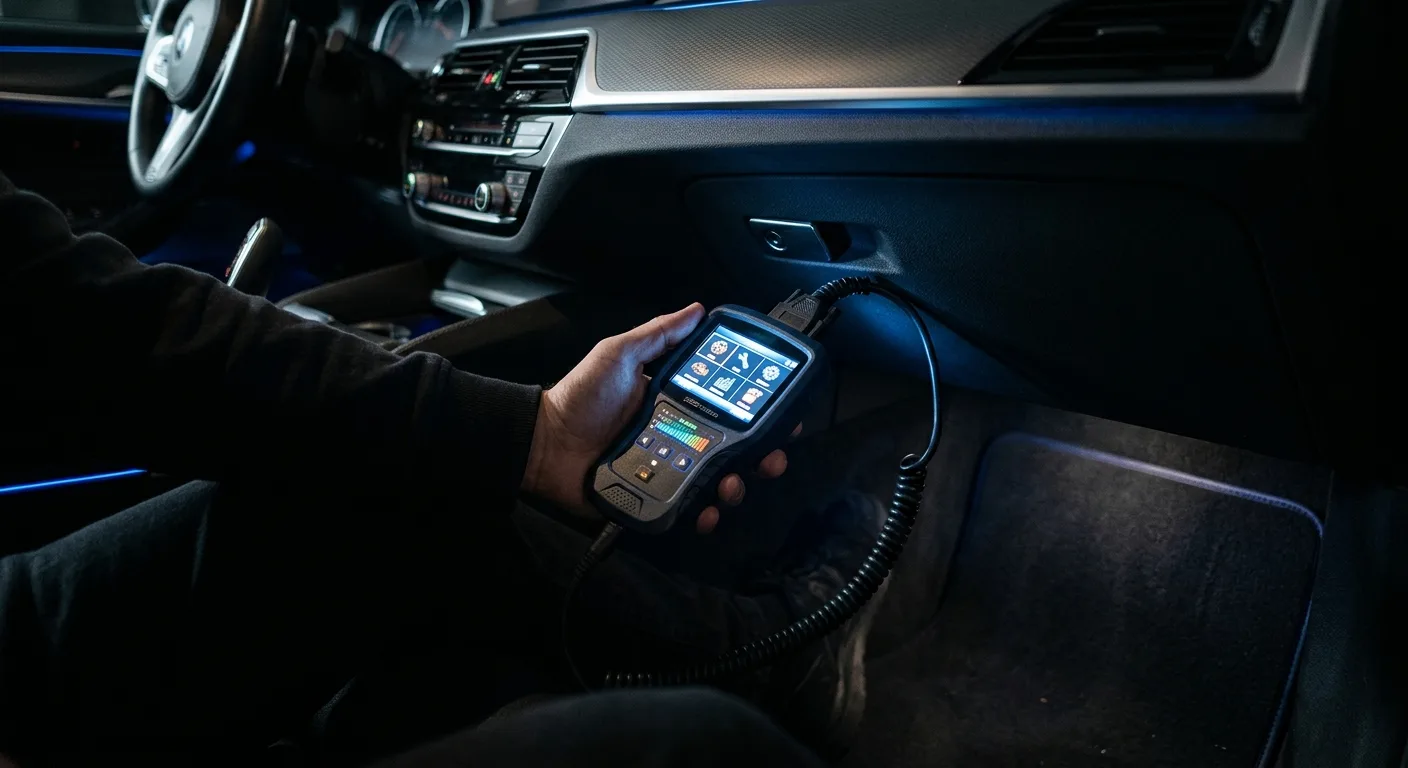
A scan tool that can talk to the parking assist module will show you which sensor is flagging a fault and let you clear it. That is genuinely useful, because it turns a mystery beep into a specific corner of the bumper.
The catch is tool compatibility. Many budget readers only handle engine codes. Check that yours lists parking assist or park distance control before you buy, and read our EV troubleshooting guides for model-specific advice.
Option 3: calibration
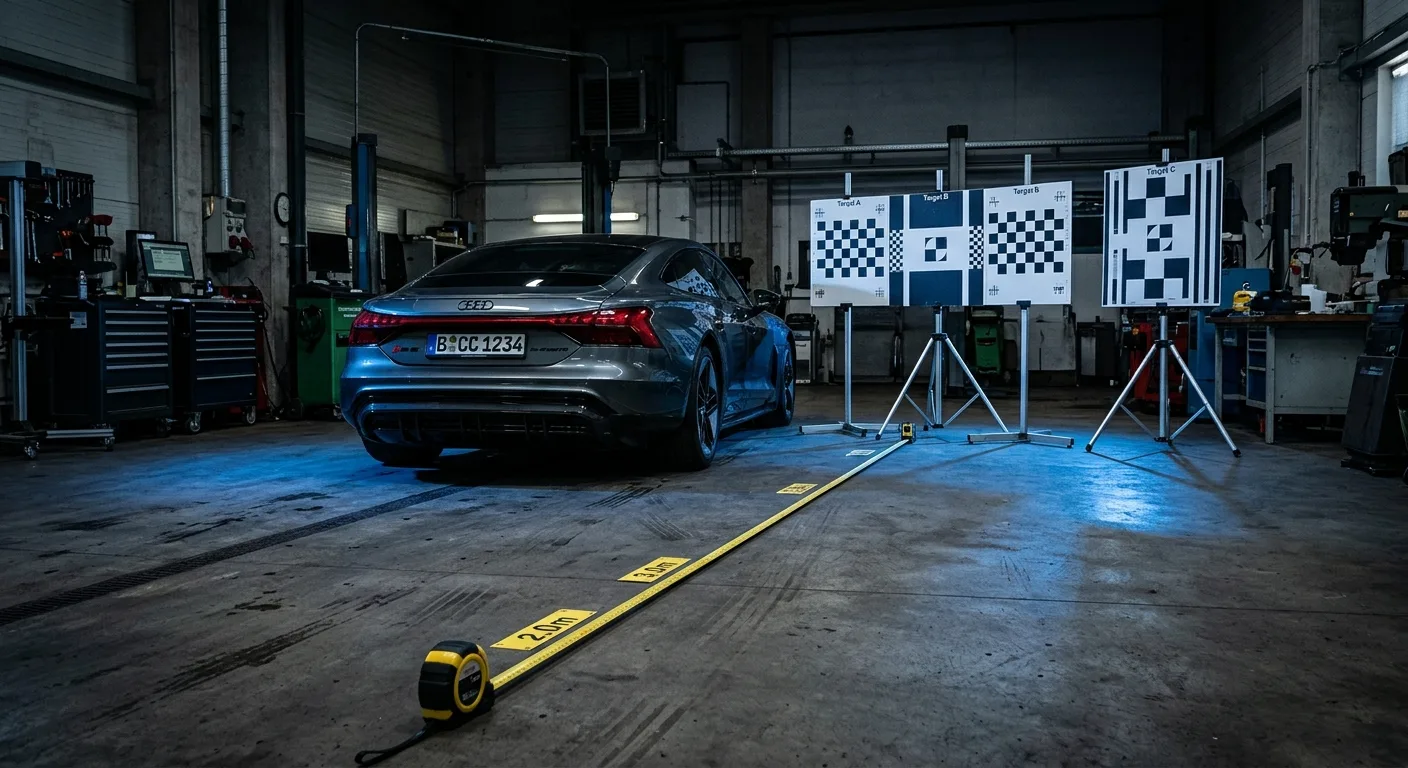
Some cars need the parking module recalibrated after a bumper swap, especially if a sensor moved or the bumper shape changed. This is not a button press; it often requires a dealer tool or a set driving procedure.
If your manual mentions a calibration step, follow it exactly. If it does not, do not invent one.
Option 4: hand it to a professional
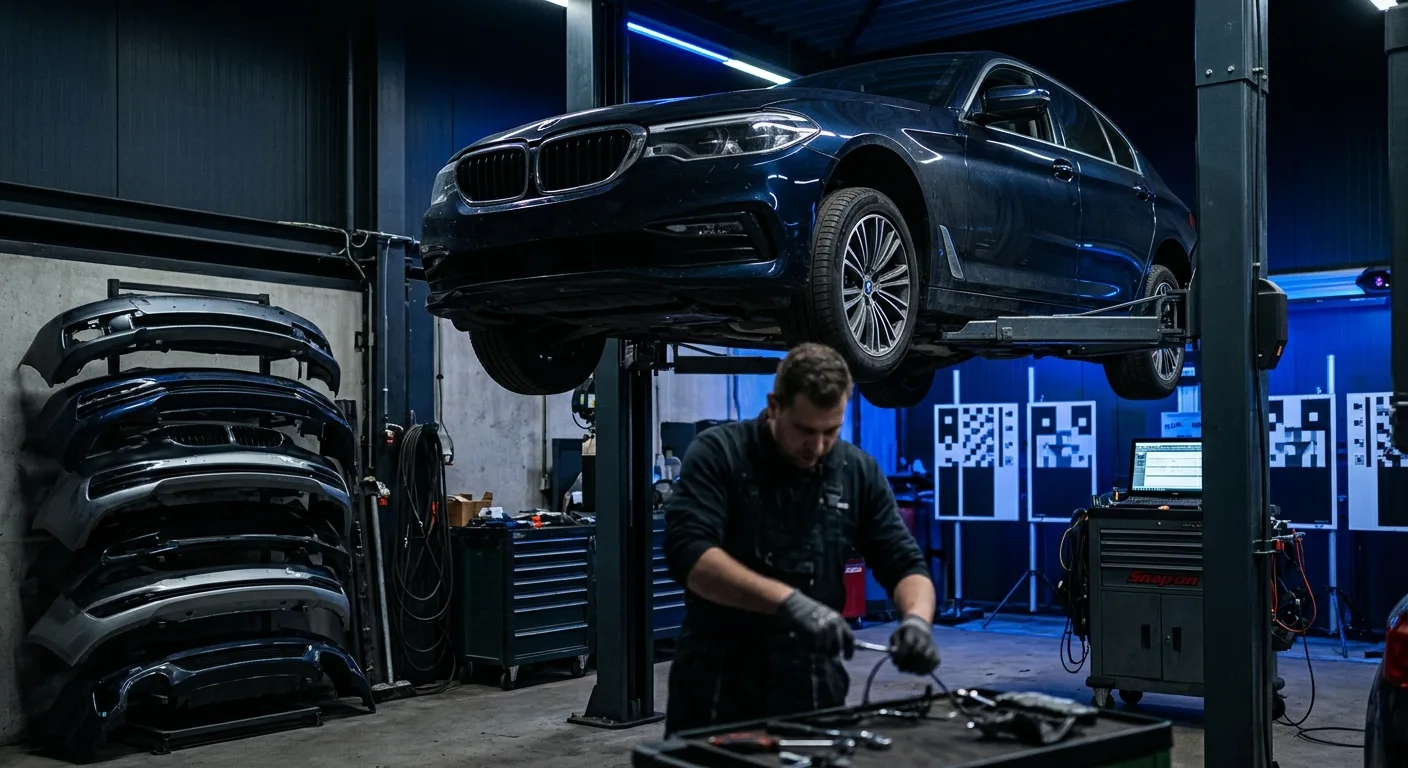
If the fault survives a battery disconnect, a scan tool clear, and a visual check, stop. Persistent faults usually mean a damaged sensor, a chafed loom, or a module that needs proper diagnostics.
Which option fits your situation?
There is no single right answer here, and anyone who tells you otherwise has not seen your bumper.
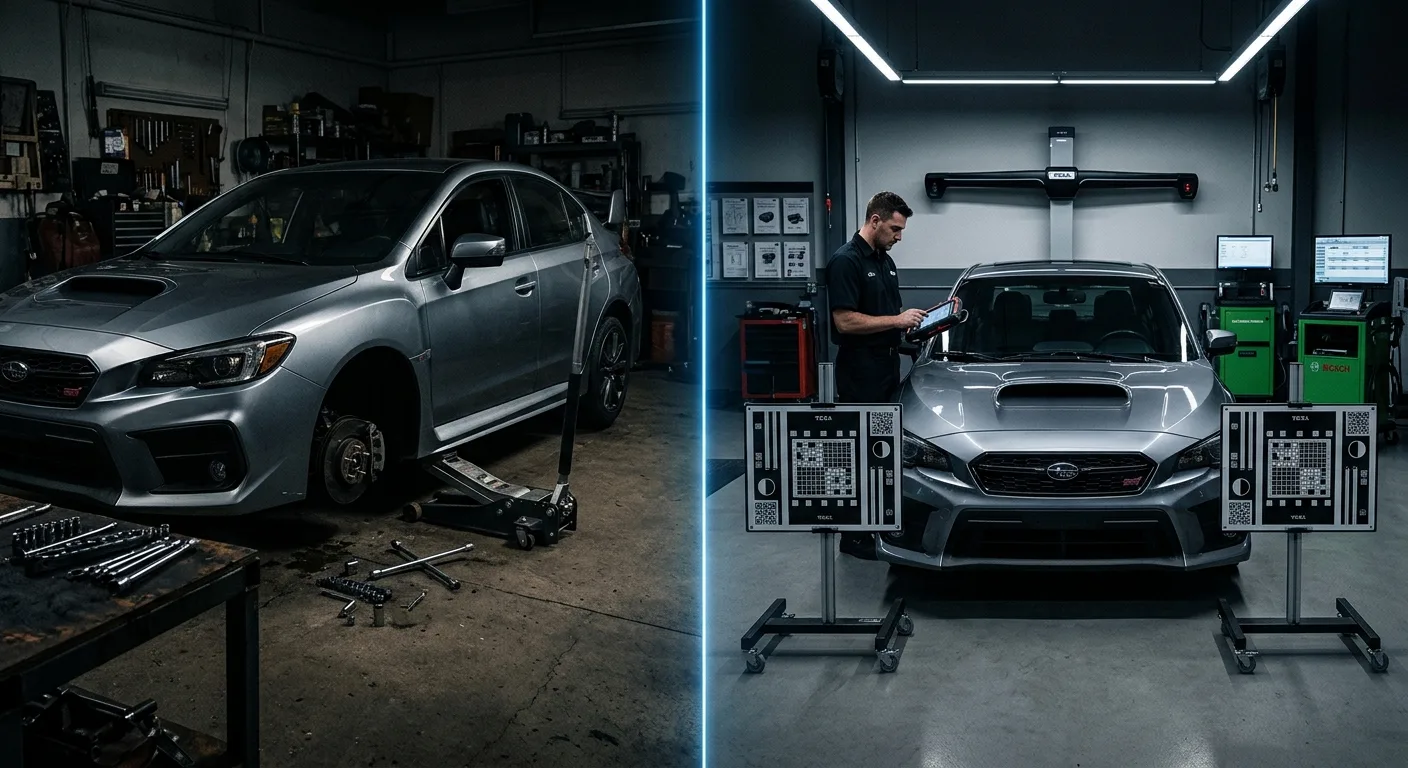
If the system worked before the repair and glitched once after, try the battery disconnect first. If you want to know which sensor is complaining, a compatible scan tool is worth it. If the bumper was replaced rather than just removed, ask about calibration before you touch anything. And if the car is under warranty or the fault touches high-voltage wiring, go straight to a professional.
Step-by-step action plan
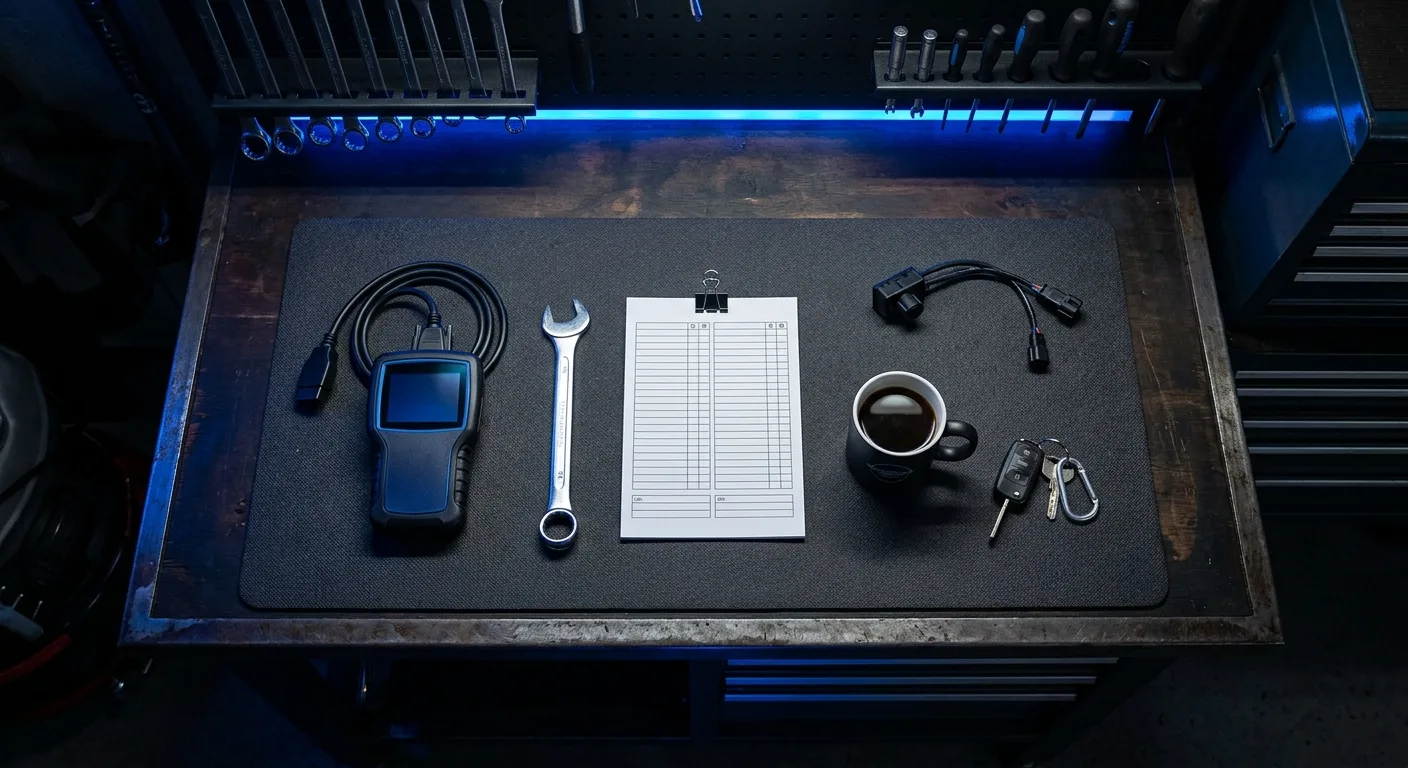
- Park safely, switch off, and let the car sit for a few minutes.
- Visually inspect every sensor for paint, damage, and alignment.
- Test the parking assist fuse using the correct fuse chart for your model.
- Check accessible connectors for full seating.
- Try the 12V battery disconnect, then retest in reverse.
- If the fault persists, read codes with a compatible scan tool.
- Clear codes only after you have noted what was stored.
- Ask your dealer whether your model needs calibration after a bumper change.
- If nothing works, book a diagnostic and describe the repair history clearly.
While you are sorting the car out, the free EV calculators and tools on this site are handy for range and charging checks, and the EV model directory helps if you are comparing how different models handle parking assist features.
Common mistakes to avoid
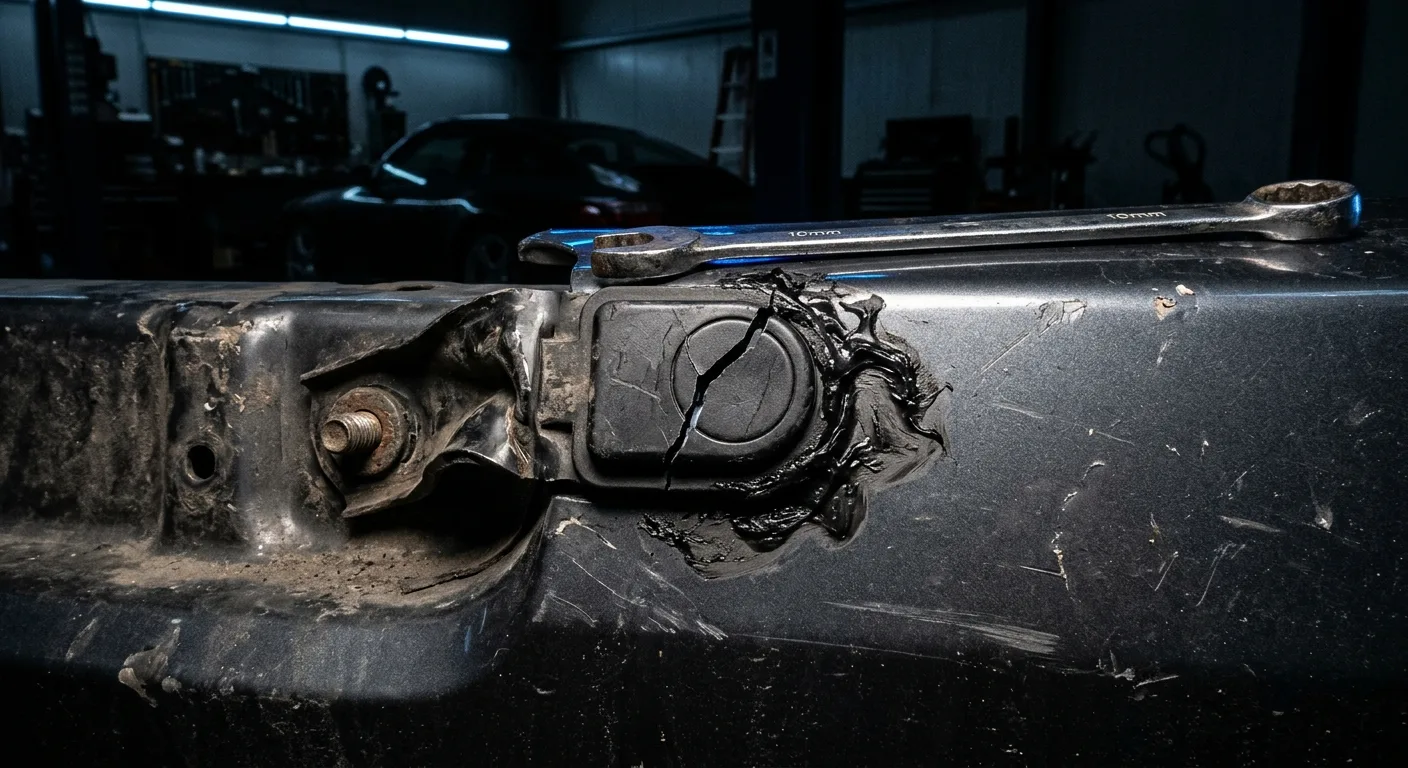
- Resetting before checking. Fix the physical fault first; a reset just hides it. Fix: run the visual and fuse checks before touching a scan tool.
- Assuming every car has a reset menu. Most do not. Fix: check your owner's manual rather than hunting through settings.
- Ignoring paint overspray. A painted sensor is a blind sensor. Fix: clean the face gently and check it is not coated.
- Clearing codes without reading them. You lose the clue. Fix: note the code before you clear it.
- Skipping calibration after a bumper swap. The module may be reading the wrong geometry. Fix: ask the dealer if your model requires it.
- Touching high-voltage wiring. Never. Fix: leave anything orange to a qualified technician.
Expert takeaway
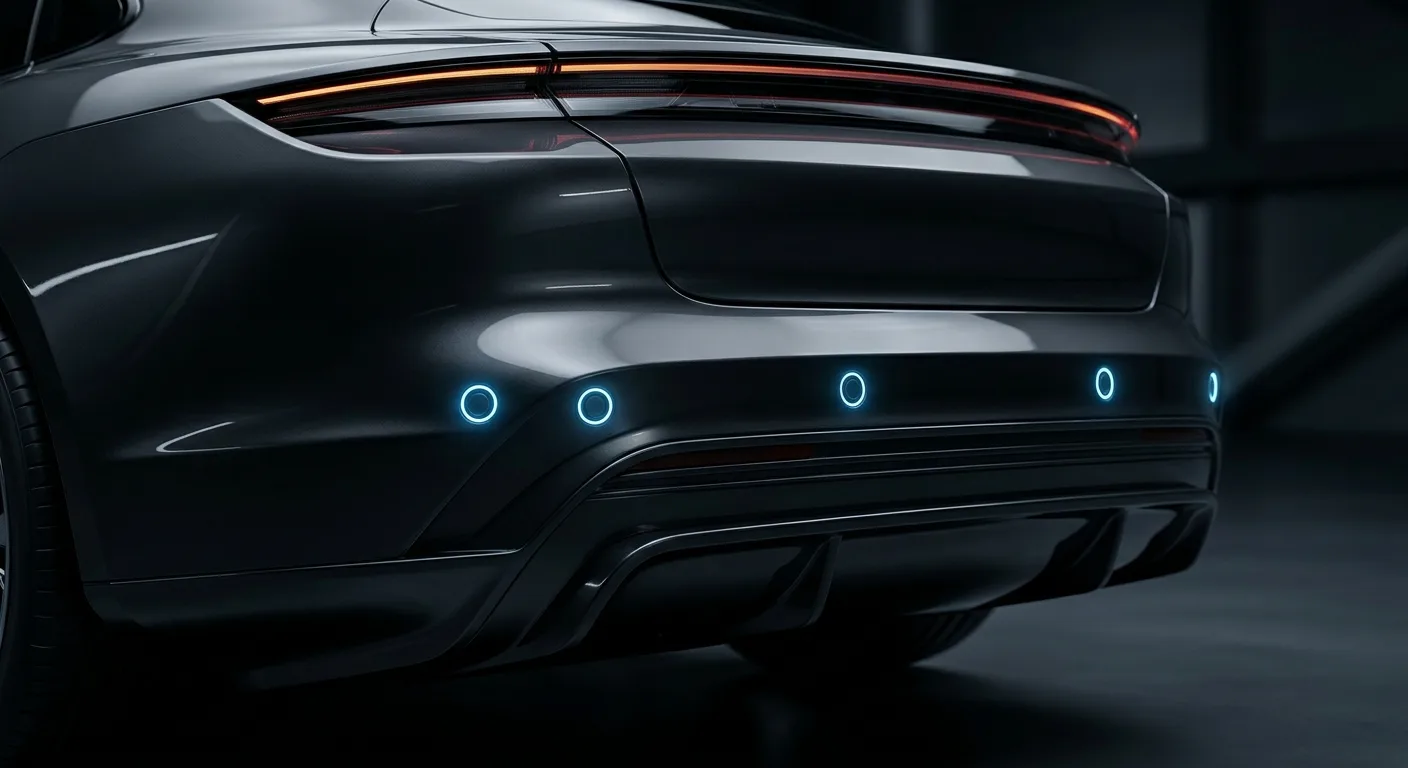
The single most important lesson: a parking sensor fault after bodywork is almost always physical, not software. Check the sensor, the connector, and the fuse before you reset anything, and only involve calibration when the bumper itself changed.
FAQ
Can I reset parking sensors myself? Yes, for the low-voltage basics: a 12V battery disconnect and a compatible scan tool clear are DIY-friendly. Calibration and anything near high-voltage wiring need a professional.
Why do my parking sensors beep constantly after a bumper repair? Usually a sensor is unseated, painted over, or damaged, or a connector is loose. Constant beeping is a physical fault far more often than a software glitch.
Do parking sensors need recalibration after a bumper replacement? Some models do, especially if a sensor moved or the bumper shape changed. Check your owner's manual or ask your dealer; do not guess.
How much does a parking sensor reset cost? A DIY battery disconnect is free. A scan tool depends on the model. Dealer diagnostics and calibration vary widely, so confirm the price before booking.
Can a dead 12V battery cause parking sensor faults? A weak 12V battery can cause odd electrical behaviour across many systems. If several unrelated warnings appear, have the 12V battery tested first.