Swapping a failed LED headlight unit is the easy half. Getting the beam pattern back where it belongs is the half that most people skip, and it is the half that keeps you legal and keeps oncoming drivers happy. By the end of this guide you will be able to remove and refit an LED headlight assembly, then aim it properly using a wall, a tape measure and a level surface, and you will know when to hand the car to someone with a beam setter. Budget 45-90 minutes for a single headlight, more if you have to drop a bumper or remove an underbody panel to reach the back of the housing.
A word on scope before we start. This guide covers low-voltage work around the light fittings, connectors and 12V circuits. If your diagnostics lead you into the high-voltage traction system, stop. That work belongs to a qualified technician with the right training and insulated tools, every time.
What you need before you start
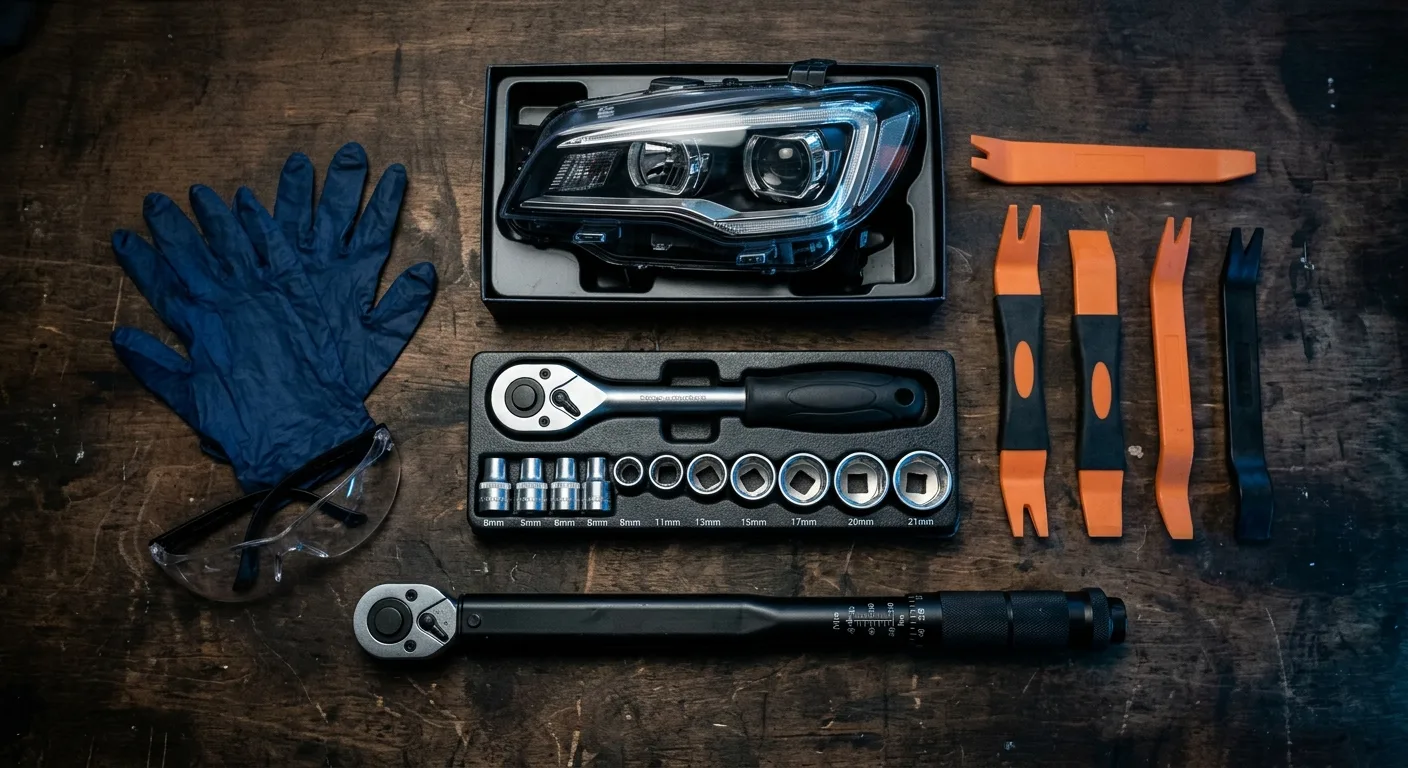
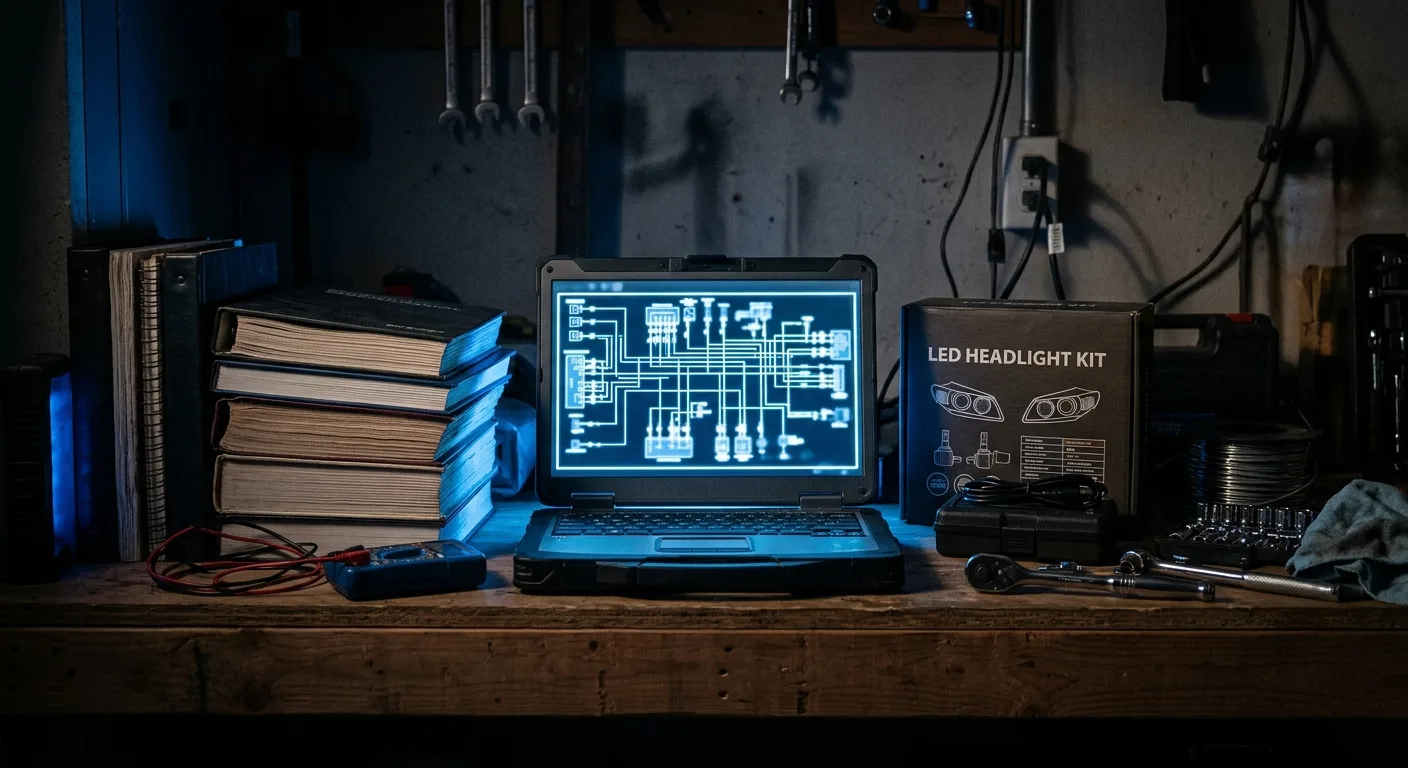
- The correct replacement headlight unit or LED module for your exact model and trim. Verify the part number against the VIN, not just the model year.
- Basic hand tools: socket set, trim removal tools, a torque wrench for the housing bolts.
- A clean, level surface with a flat wall, at least 3 metres of clearance in front of the car.
- Masking tape and a tape measure for marking the reference lines.
- A Phillips screwdriver or the specific adjuster tool your housing uses (many use a 6mm hex or a Phillips head, check yours).
- A helper, or a diagnostic app that can trigger the headlight levelling motors if your car has them.
- A dark evening or a dim garage. You cannot aim a beam properly in daylight.
No account or subscription is needed for the basic aiming method below. If your car uses adaptive or matrix LED units, check whether the manufacturer requires a calibration routine after replacement, because some do and some do not.
Step 1: Confirm the fault is actually the headlight
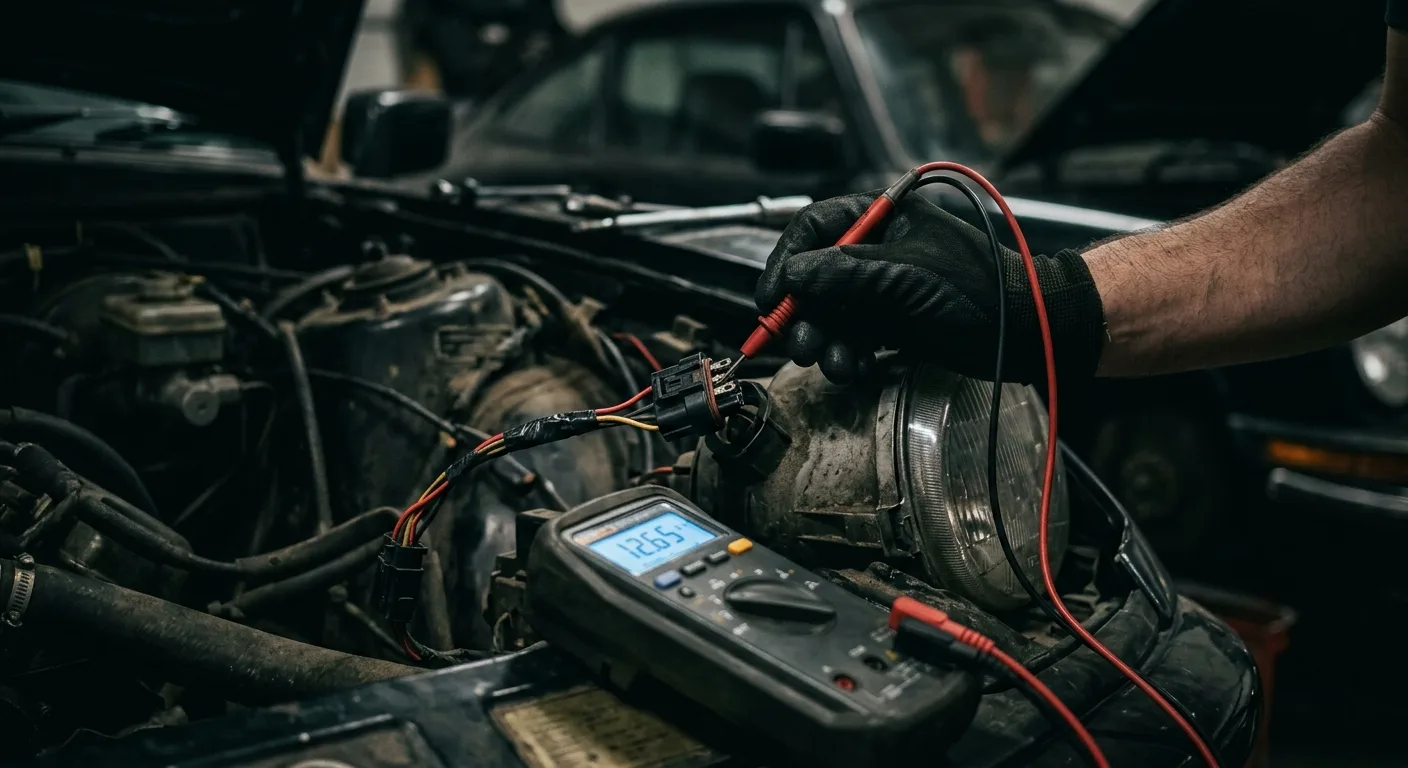
Before you buy anything, make sure the unit itself has failed and not the wiring, the ballast or the control module. Swap the suspect unit to the other side if the loom allows, or check for voltage at the connector with the lights switched on. A dead LED can look identical to a blown fuse or a corroded plug. If the fault follows the unit, replace it. If it stays on the same side, you have a wiring or module problem and a new headlight will not fix it. Our EV diagnostic and fuse guides walk through the voltage checks in a safe order.
Tip: photograph the connector and the mounting bolts before you touch anything. Reassembly is much faster with a reference.
Step 2: Disconnect the 12V battery
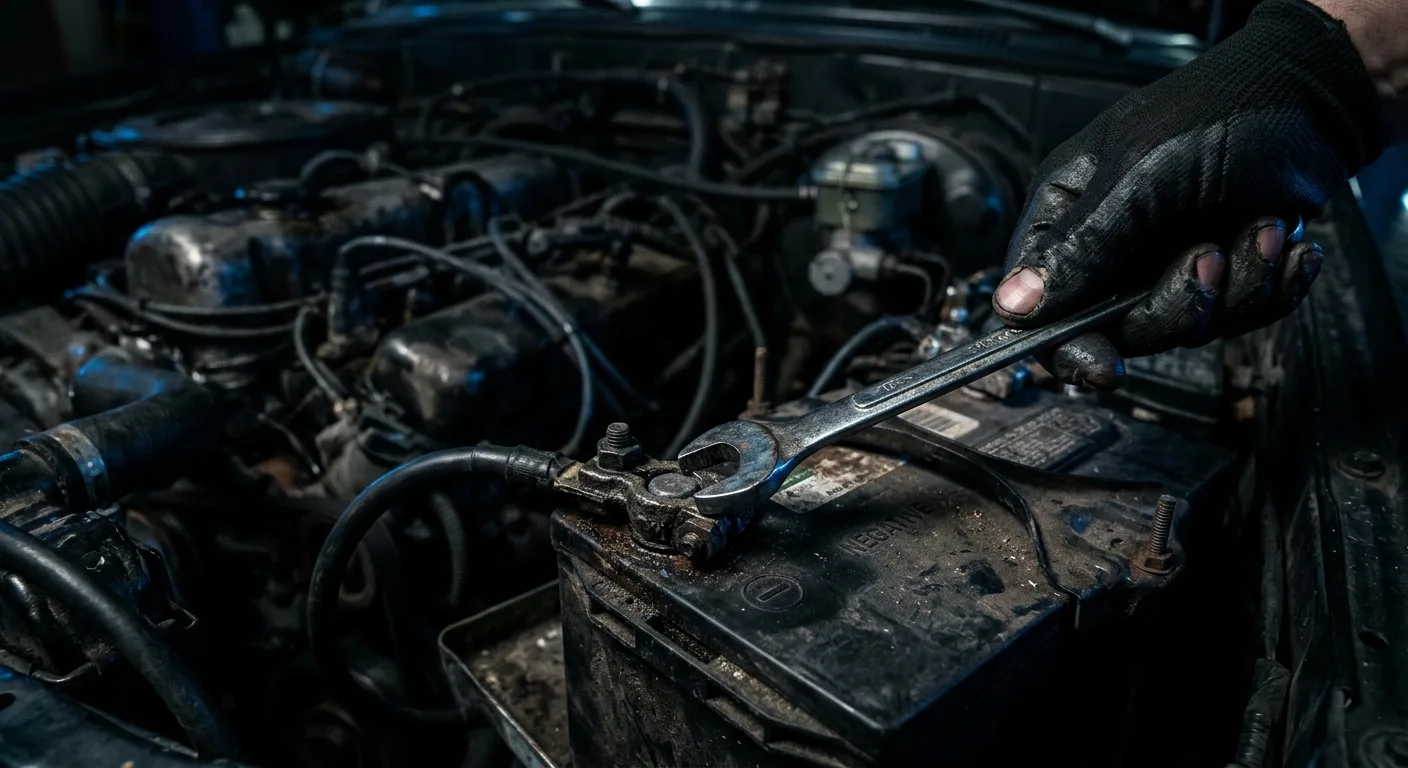
Isolate the low-voltage system before you unplug anything. On most cars this means removing the negative terminal, and on some it means waiting a set period for modules to power down. Follow the manufacturer's procedure for your model. This step protects you from airbag circuits, cooling fan run-on and accidental shorts while your hands are inside the housing.
Tip: if the car has a battery management system, check the handbook for the correct shutdown sequence rather than just pulling the terminal.
Step 3: Remove the old unit
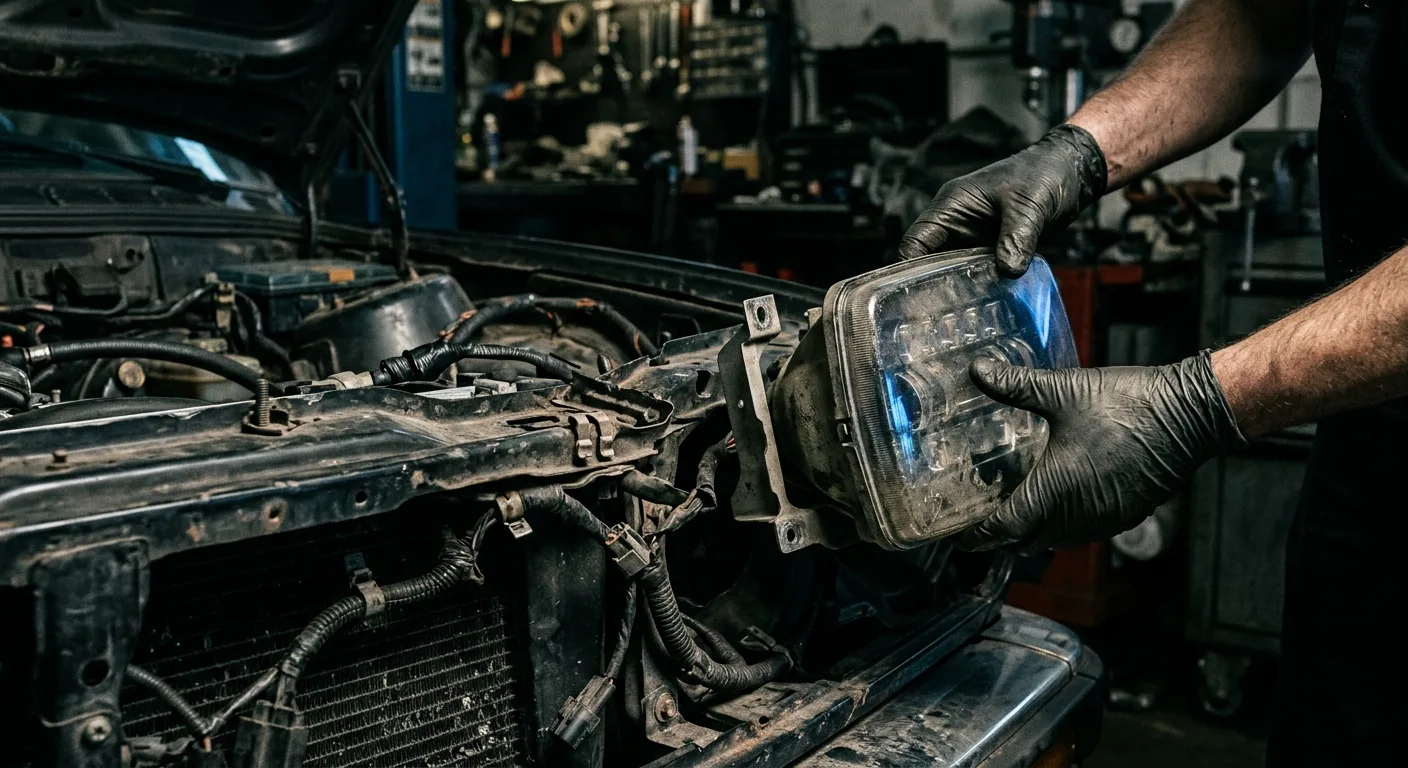
Access varies wildly. Some cars let you reach the back of the housing from the engine bay in two minutes. Others need the front bumper dropped. Remove the trim and any underbody panels carefully, unplug the connector, and undo the mounting bolts in a cross pattern so the housing does not twist. Keep every fastener in a labelled tray.
Tip: if a bolt feels tight and then suddenly loose, stop and inspect the thread. Cross-threading a housing mount is a miserable way to spend an afternoon.
Step 4: Fit the replacement and reconnect
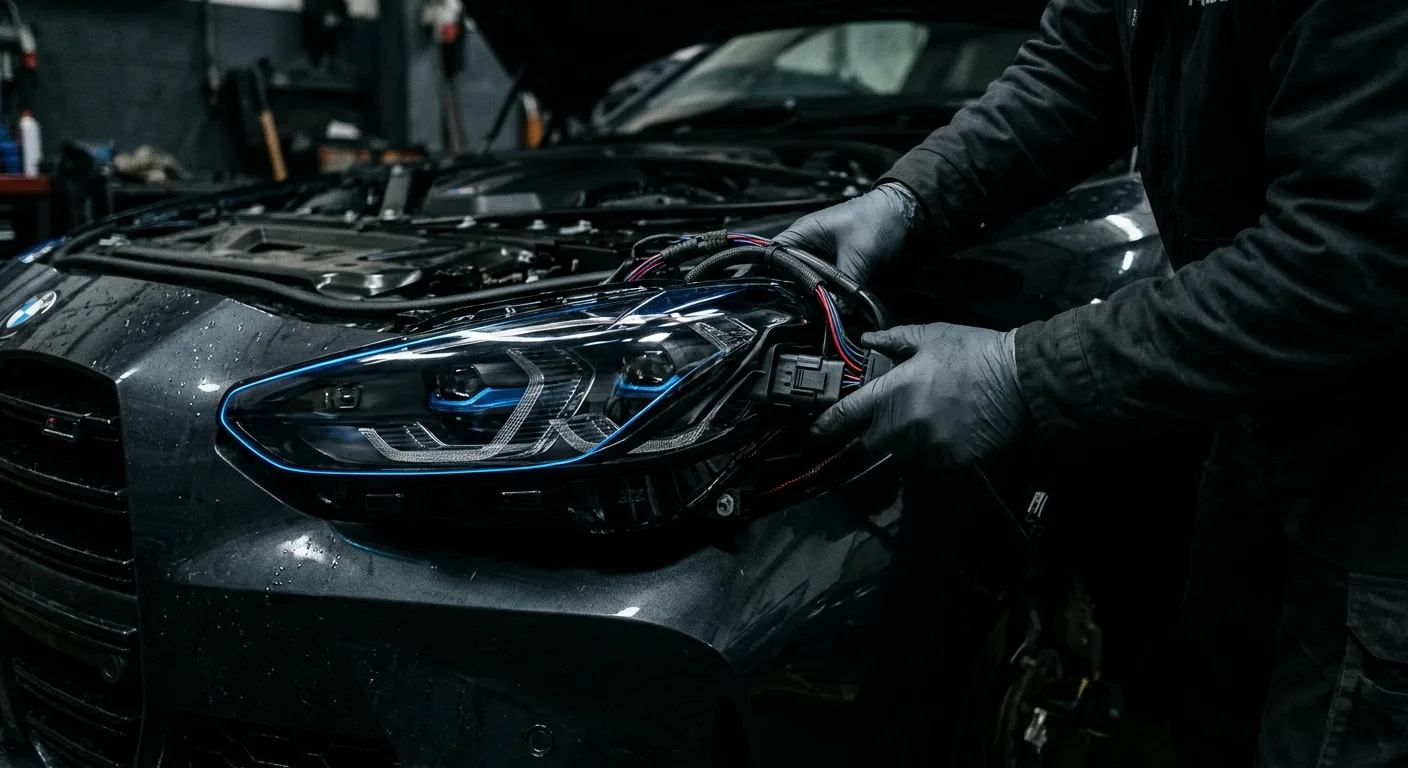
Seat the new unit on its mounts, start all bolts by hand, then torque them to the manufacturer's figure. Reconnect the plug until it clicks, and check the seal around the housing. A pinched gasket lets water in and you will be back here in a few months with a fogged lens.
Tip: do not fully tighten anything until the housing sits flush against the body panel. Alignment of the unit itself matters before you touch the beam adjusters.
Step 5: Set up your aiming wall
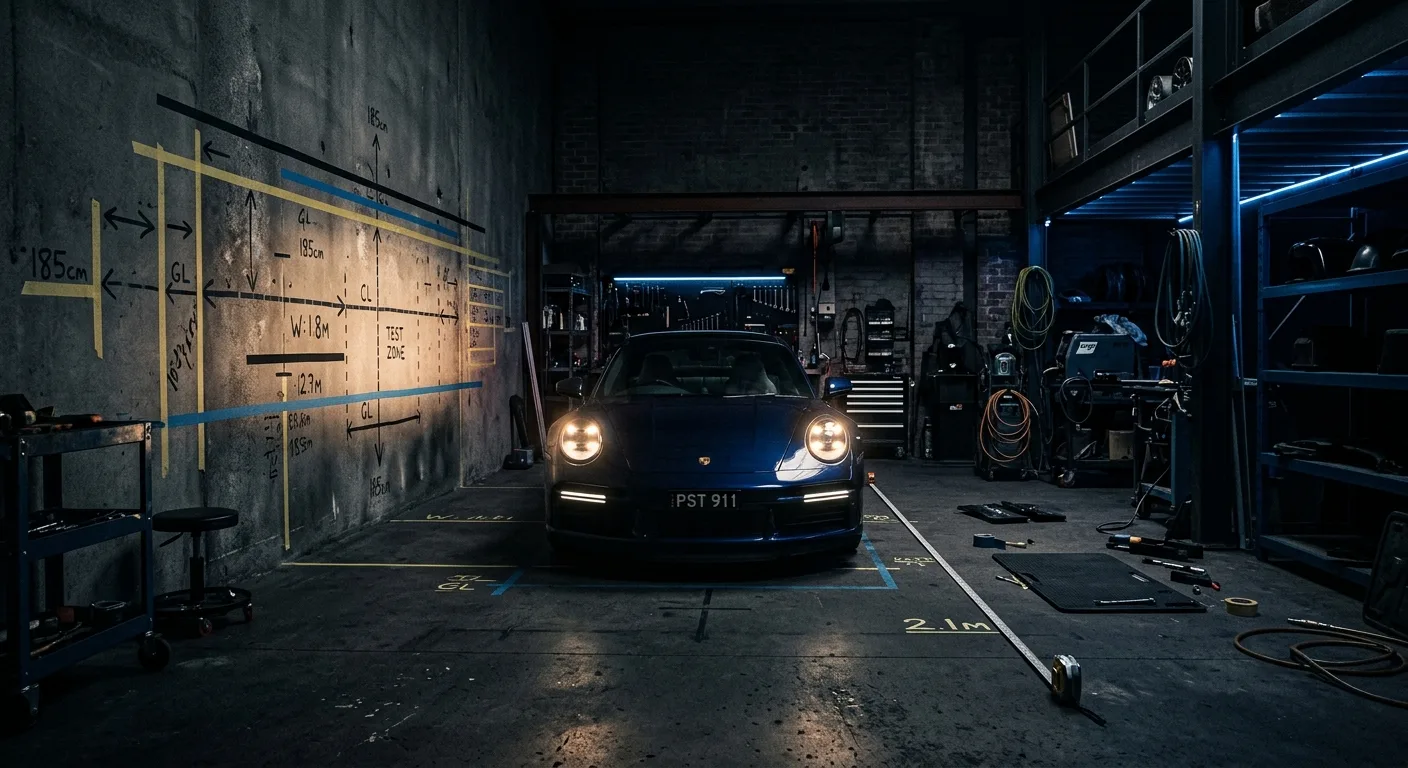
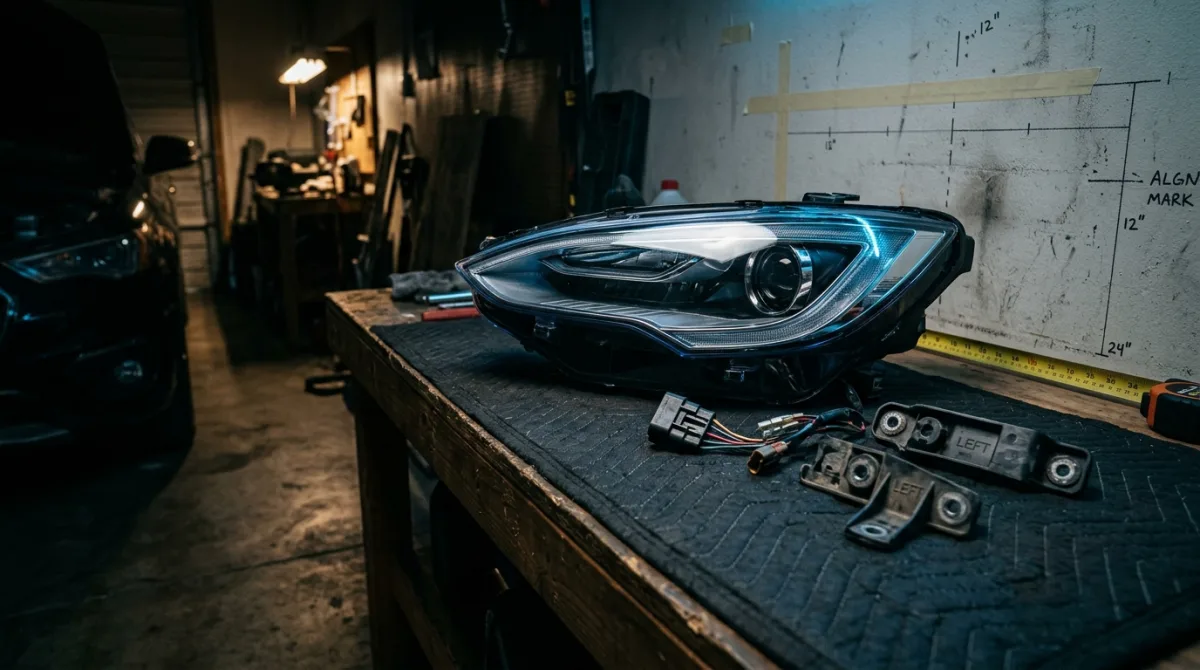
This is where the calibration actually happens. Park on level ground with the tyres at their normal pressures and the car unladen apart from you and your tools. Position the car so the headlights are a measured distance from a flat wall. Common reference distances are around 3 metres for a quick check and up to 7-10 metres for a more accurate result; use whatever your manufacturer specifies and verify it. Measure from the centre of each headlight to the ground, and mark that height on the wall with tape. Mark the centreline of the car on the wall too.
Tip: bounce the front suspension a couple of times before you measure so the car settles at its natural ride height.
Step 6: Check the beam pattern and cut-off
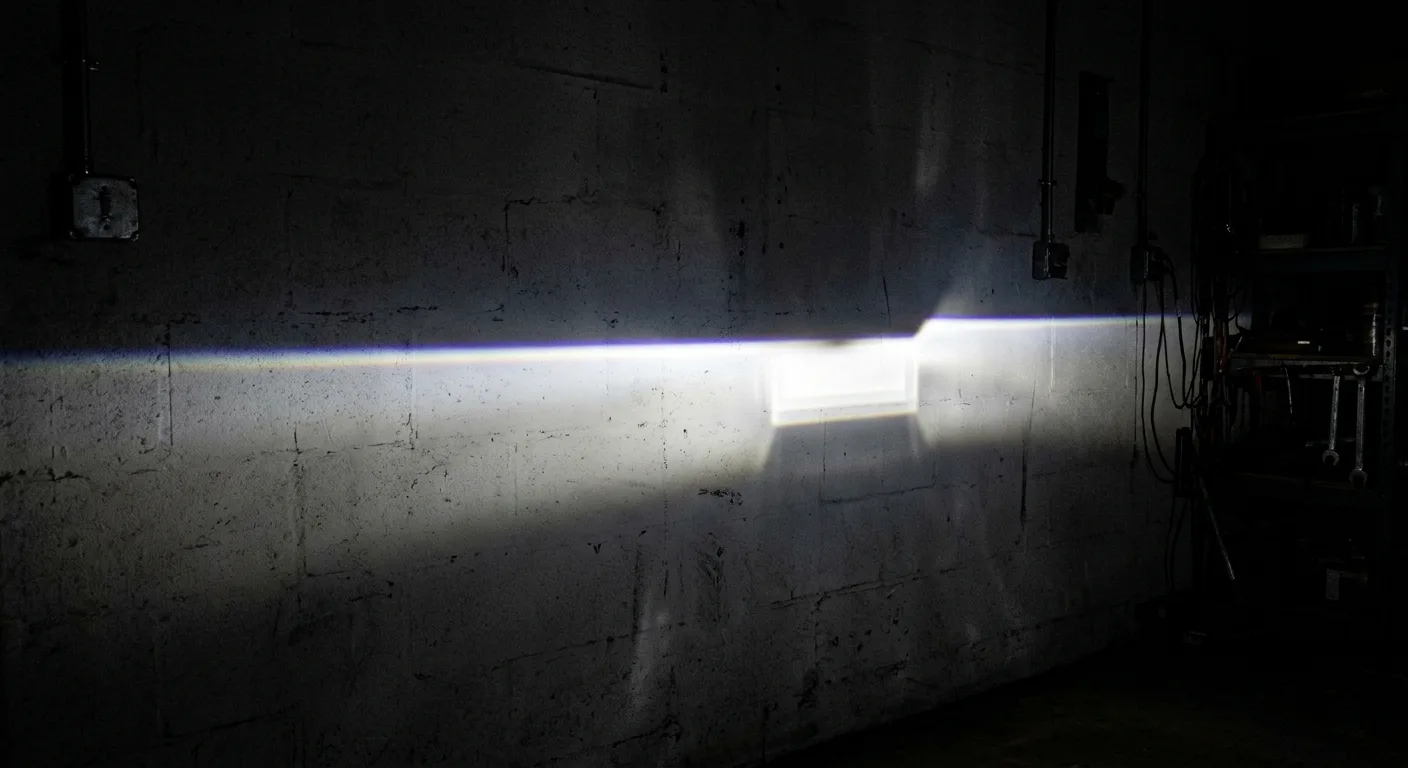
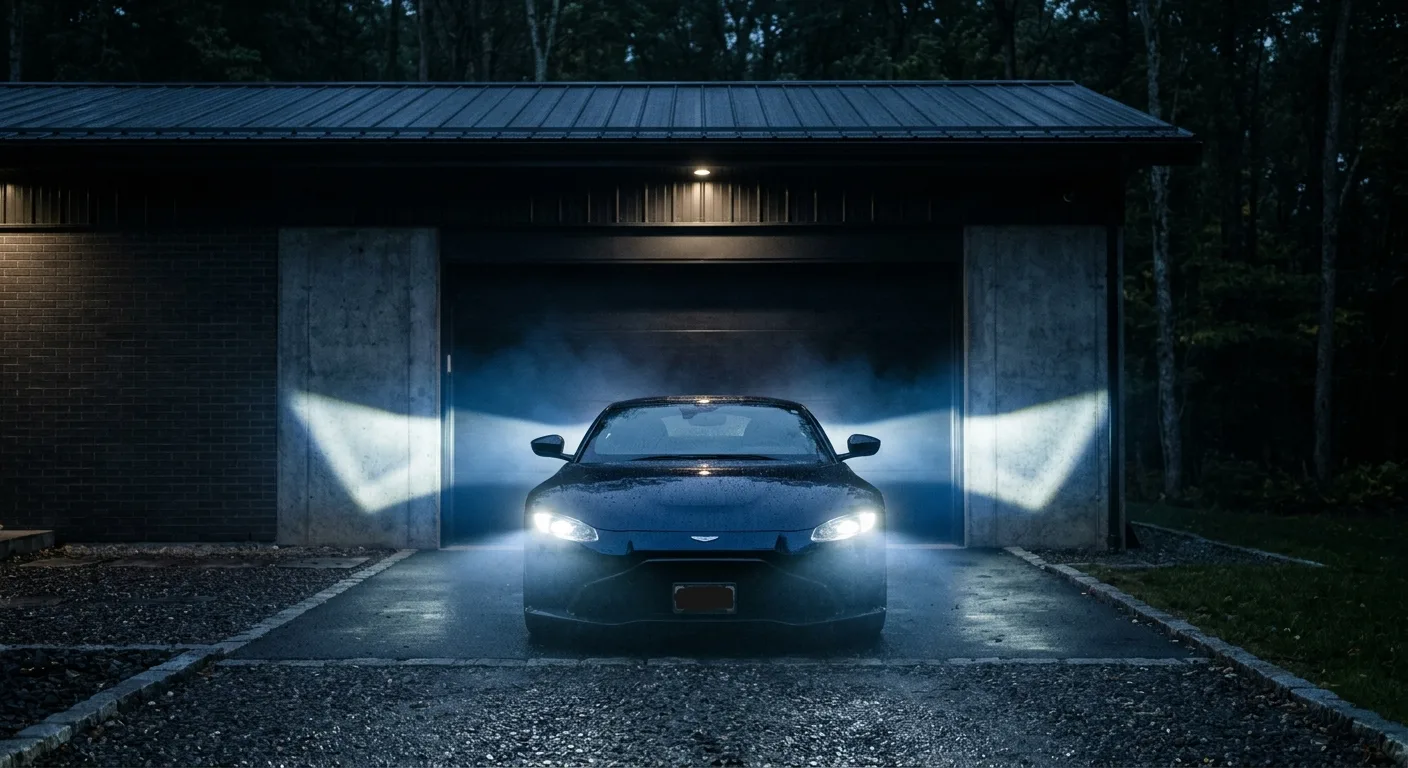
Switch on the low beams and look at the pattern on the wall. You are checking three things: the height of the cut-off relative to your tape line, the horizontal aim of each beam, and whether the left and right patterns match. Most right-hand-drive markets want the cut-off slightly below the headlight centre height, with a kick-up to the left; left-hand-drive markets mirror this. Verify the correct pattern for your country rather than assuming.
Tip: cover one headlight while you check the other. Two overlapping beams hide a lot of misalignment.
Step 7: Adjust the aim
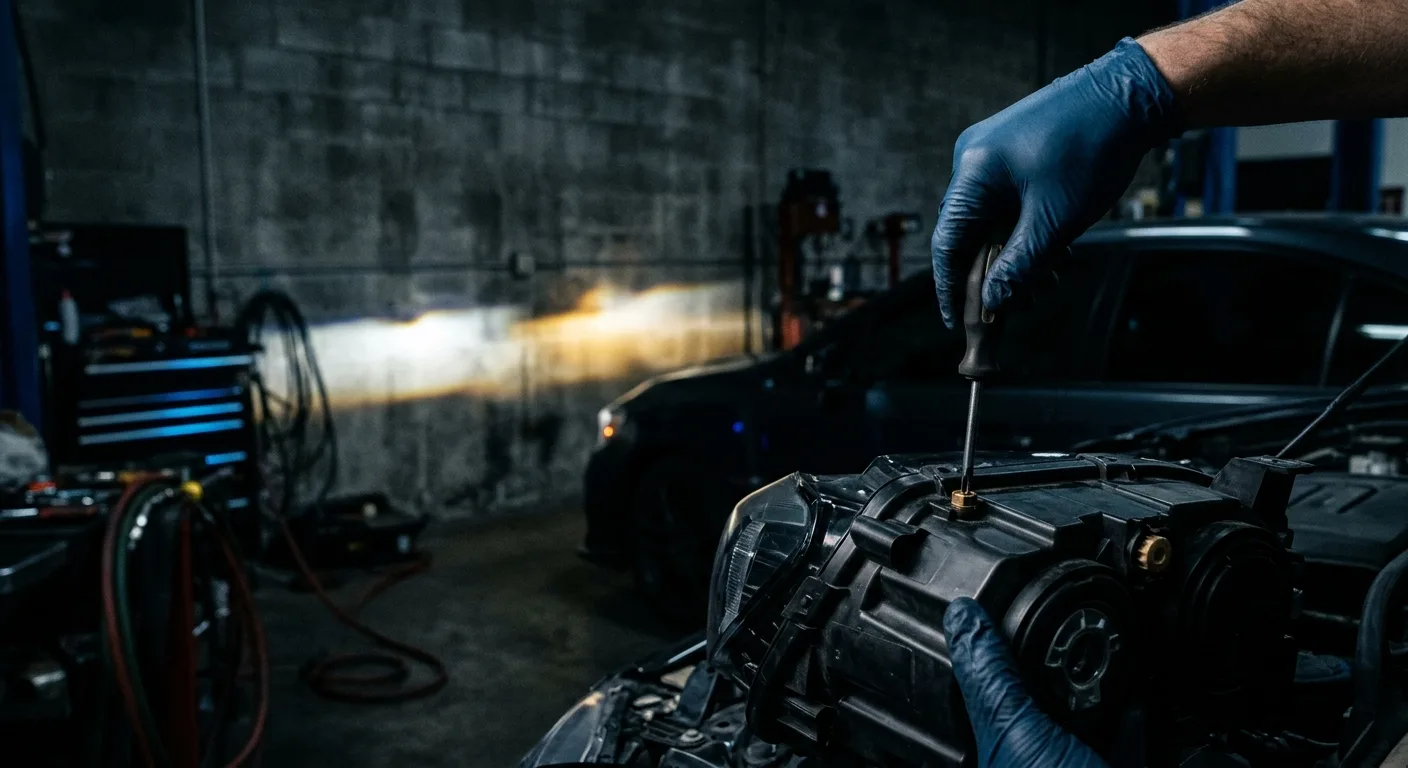
Find the adjuster screws on the housing. Most units have separate vertical and horizontal adjusters, and the direction to turn them varies by maker, so check the housing or the manual. Turn in small increments, a quarter turn at a time, and recheck the pattern after each adjustment. Aim the low beam so the cut-off sits just below your tape line, then confirm the high beam lands roughly straight ahead and centred.
Tip: write down how many turns you made on each adjuster. If you overshoot, you can return to a known position instead of guessing.
Step 8: Run any required calibration routine
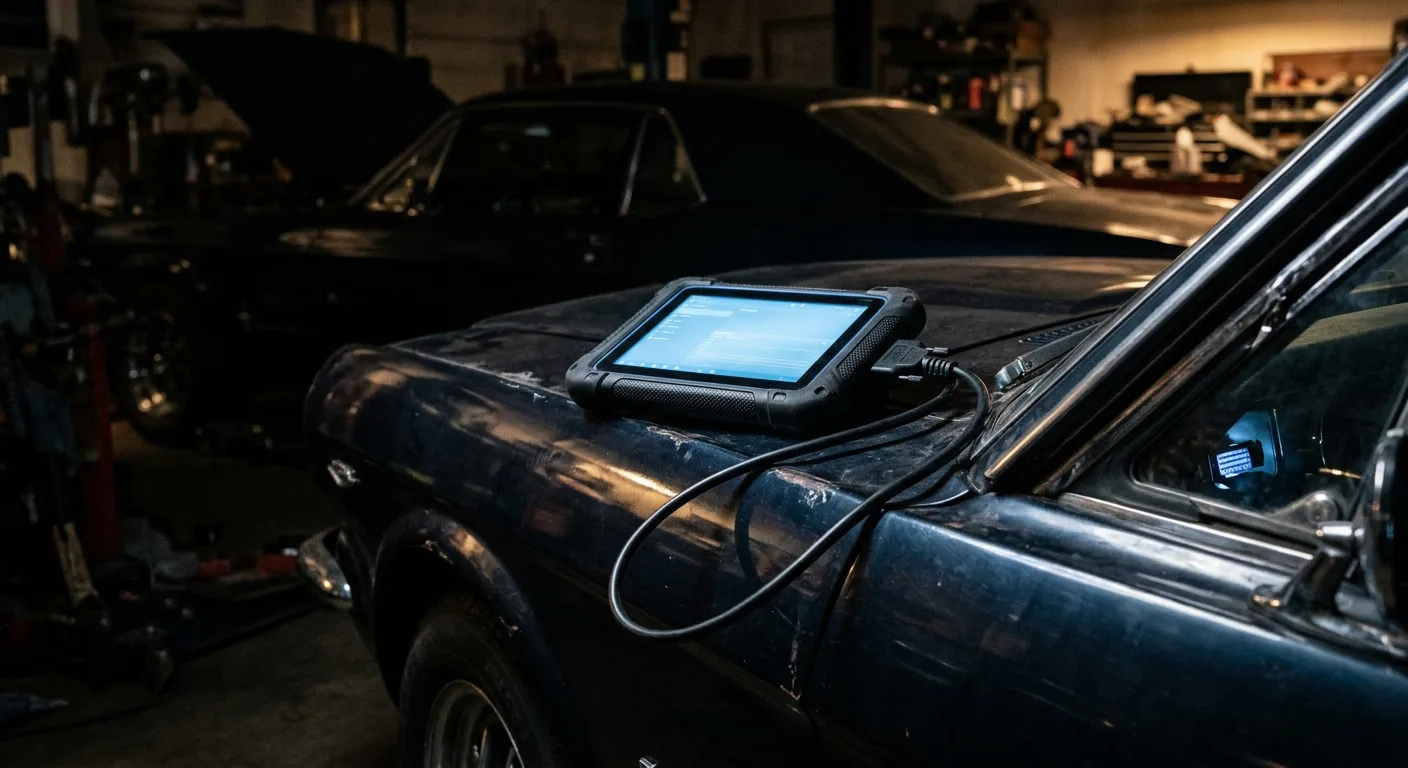
Some vehicles with adaptive or matrix LED headlights need a software calibration after replacement, triggered through a diagnostic tool or a manufacturer app. This resets the levelling motors and teaches the system the new unit's position. If your car needs this, do it after the physical aim is set, not before. If you are unsure whether your model requires it, check the service information or ask a dealer. Guessing here can leave the system throwing faults.
Tip: if you do not have the tool for the calibration routine, this is the point to stop and book the car in. The physical aim will be close, but the adaptive function may not work correctly.
Step 9: Road test and final check

Take the car out at dusk on a quiet road. You want a clear, even beam that lights the road without throwing glare into mirrors ahead. If oncoming drivers flash you, your aim is too high, so go back to the wall and drop it slightly. Recheck that both headlights match.
Pro tips
- Do the aiming with the fuel tank or battery at a normal level. A full tank or a heavy load changes ride height and therefore beam height.
- Clean the lenses before you aim. A dirty lens scatters light and makes the pattern look worse than it is.
- Keep the car's tyre pressures correct during aiming; a soft tyre on one side tilts the whole front end.
- If you replace one unit, check the other. Mismatched age and output between left and right is common and easy to spot on the wall.
- Mark your final adjuster positions with a paint pen so a future alignment check is quick.
- Store the old unit if it is repairable; some LED failures are just a failed driver module, and a spare housing is useful.
Common pitfalls
- Aiming in daylight or against a bright background. You cannot see the cut-off properly. Wait for dusk or use a dark garage.
- Skipping the levelling calibration on adaptive units. The beam will look fine on the wall and then misbehave on the road as the motors hunt for a reference they no longer have.
- Over-tightening housing bolts. Plastic mounts crack, and a cracked mount ruins your aim within weeks.
- Assuming a new unit is pre-aimed. It is not. Every replacement needs a check on the wall.
- Forgetting to verify local beam pattern rules. A pattern that is legal in one country can fail an inspection in another.
Useful resources
If you are still choosing between vehicles and want to know which ones make headlight work easier, the EV model directory and the head-to-head EV comparisons are good starting points. For electrical checks before you commit to a replacement, the EV troubleshooting guides cover the safe order of diagnosis. And if you want to sanity-check running costs or charging figures while you are under the bonnet, the free EV calculators and tools are worth a look. For general reference, your vehicle's own service manual and the manufacturer's technical information remain the authority on torque figures and calibration procedures.
FAQ
Do I need a diagnostic tool to calibrate LED headlights? Only if your car has adaptive, matrix or motorised levelling headlights that require a software routine after replacement. Basic LED units with manual adjusters do not need one. Check your model's service information to be sure.
How far from the wall should I park? Common practice is around 3 metres for a quick check and up to 7-10 metres for accuracy. Your manufacturer may specify a distance, so verify it and use that figure.
Can I aim headlights by eye on the road? You can get close, but a wall gives you a repeatable reference. Road-only aiming tends to leave one beam too high, which is exactly what annoys other drivers.
What if the beam pattern looks wrong after I fit the new unit? Check that the unit is seated flush and the connector is fully engaged. If the pattern is still wrong, the unit may be the incorrect part for your market's beam pattern, or the levelling system needs calibration.
Is it safe to work on the headlight wiring myself? Low-voltage 12V work around the light fittings is within reach of a careful technician. Anything that leads you into the high-voltage traction system is not. Stop and call a qualified technician.
Final word
A headlight swap is one of the more satisfying jobs on a car: visible result, measurable improvement, and a legal beam at the end of it. Take the extra twenty minutes on the wall and you will save yourself a lot of flashing headlights and a failed inspection.