You bought the car (or you are about to), and now the fun part is over: getting power to it at home. Most people assume a home EV charger installation is a quick job for any electrician. Then they get the first quote, or the charger trips the breaker every evening, or the cable turns out to be two metres short.
This guide covers the ten mistakes that cause the most grief, why they happen, and how to sidestep them before anyone drills into your wall. It is general guidance, not electrical advice. Anything touching your consumer unit or the high-voltage side of the car needs a qualified electrician, full stop.
The problem: nobody explains the boring parts until it is too late
Home charging is where most EV owners spend 90% of their charging time, so it deserves more thought than the car's colour. Yet the installation gets treated as an afterthought. People buy a charger online first, then discover their supply can't support it, or their parking spot is on the wrong side of the house.
The mistakes tend to cluster around three things: the electrical capacity of your home, the physical layout of your parking, and the paperwork (grants, permits, landlord permission). Get those right and the rest is routine.
Why it happens
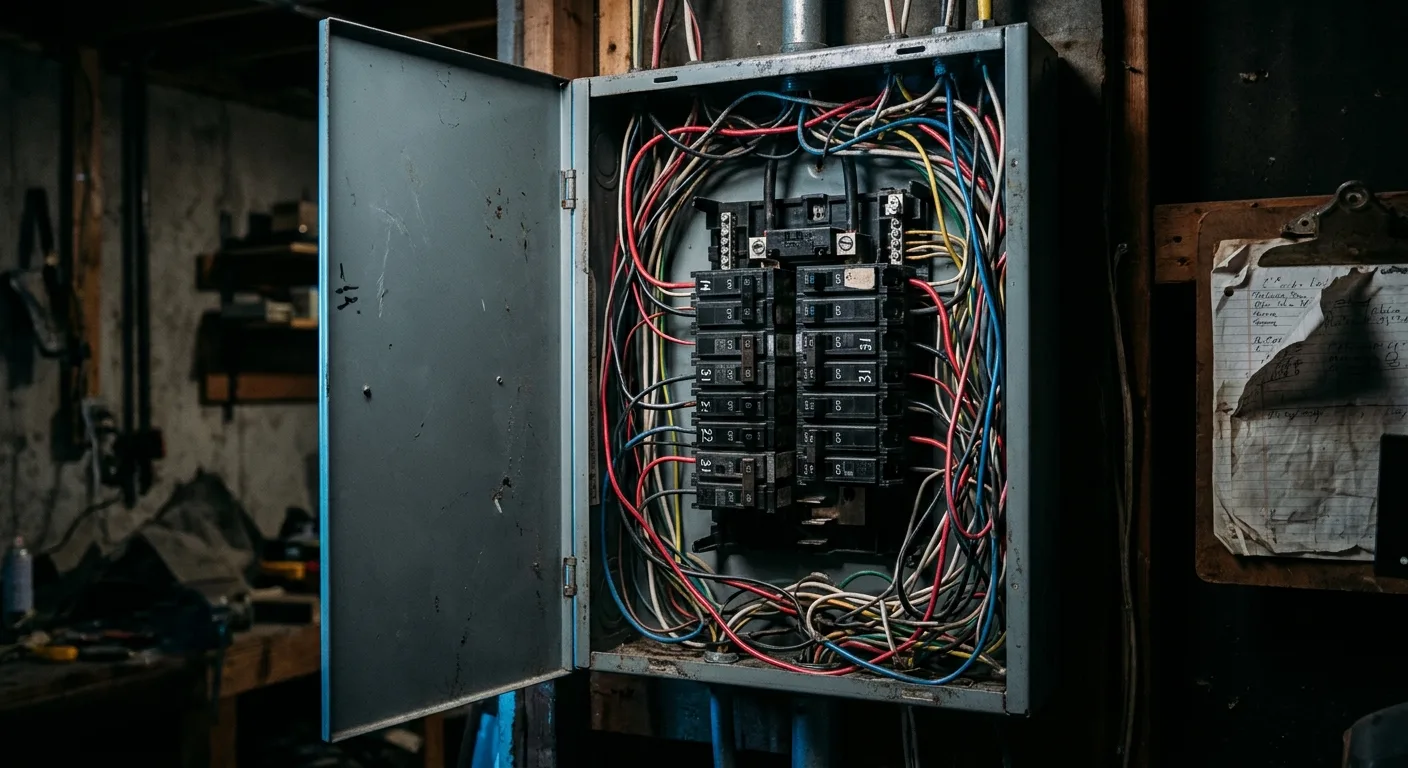
Chargers are sold as plug-and-play boxes. The marketing rarely mentions that a 7 kW unit pulls about 30 amps continuously for hours, which is a very different load from a kettle. Older homes, shared supplies, and long cable runs all change what is possible.
There is also a timing trap. Most people order the charger and the car in the same week, then rush the install to be ready for delivery day. Rushed installs are where shortcuts creep in.
The solutions: three realistic routes
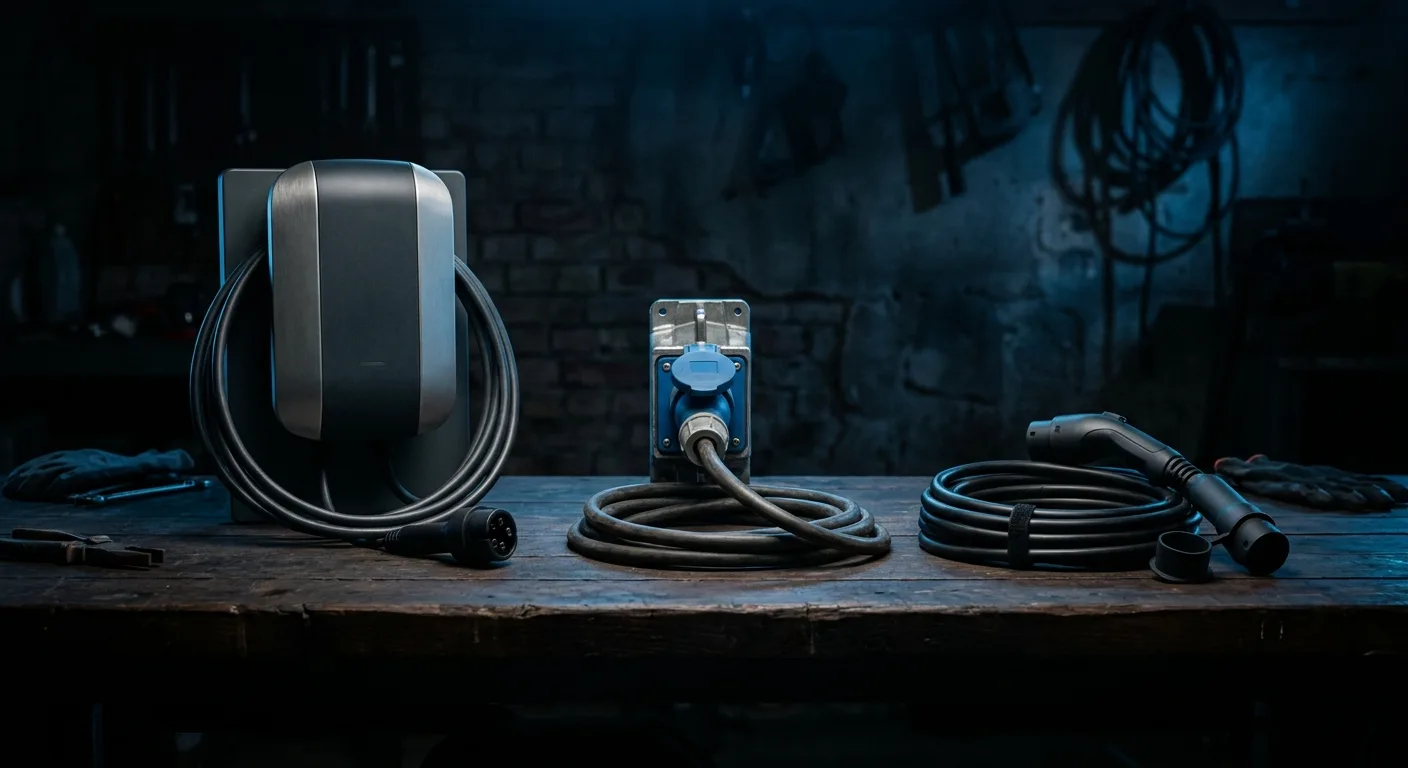
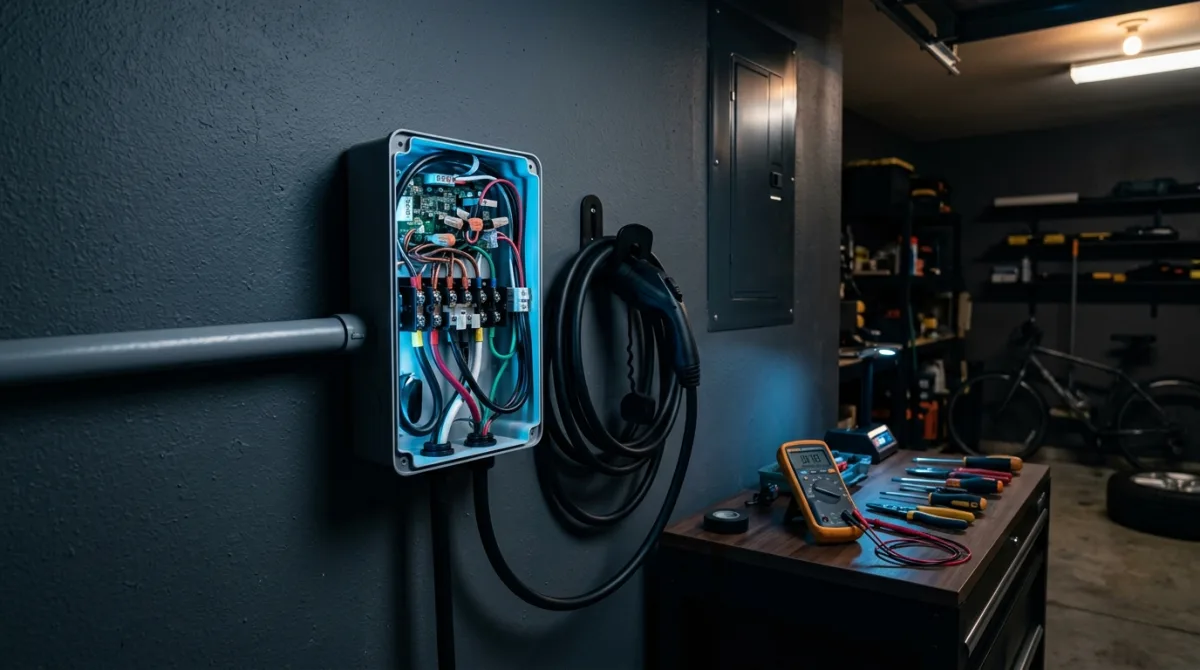
Route 1: Standard untethered or tethered wallbox, professionally installed. A 7 kW single-phase unit is the common choice for most homes. You supply the electrician, they handle the circuit, protection and paperwork. Advantages: done properly, warranty intact, grant-eligible in many regions. Disadvantages: cost and lead time. Typical installed cost varies widely by country and cable run, so treat any quote as local, not universal.
Route 2: A commando or industrial socket with a portable charger. Cheaper up front, and flexible if you move. Downsides: slower charging, weather exposure, and many portable units are not designed for permanent outdoor daily use. Makes sense for renters or low-mileage drivers.
Route 3: A smart charger with load management. If your supply is tight, a unit that throttles itself when the house is drawing heavy load can avoid an expensive supply upgrade. Worth pricing both ways before you commit. Our free EV calculators and tools can help you sanity-check charging times and daily energy needs before you talk to an installer.
Whichever route you pick, the decision depends on your supply, your parking, and how many kilometres you actually drive. If you are still choosing a car, the EV model directory lists battery sizes and charging specs so you can match the charger to the vehicle.
The best choice depends on your situation
| Situation | Sensible route | Watch out for |
|---|---|---|
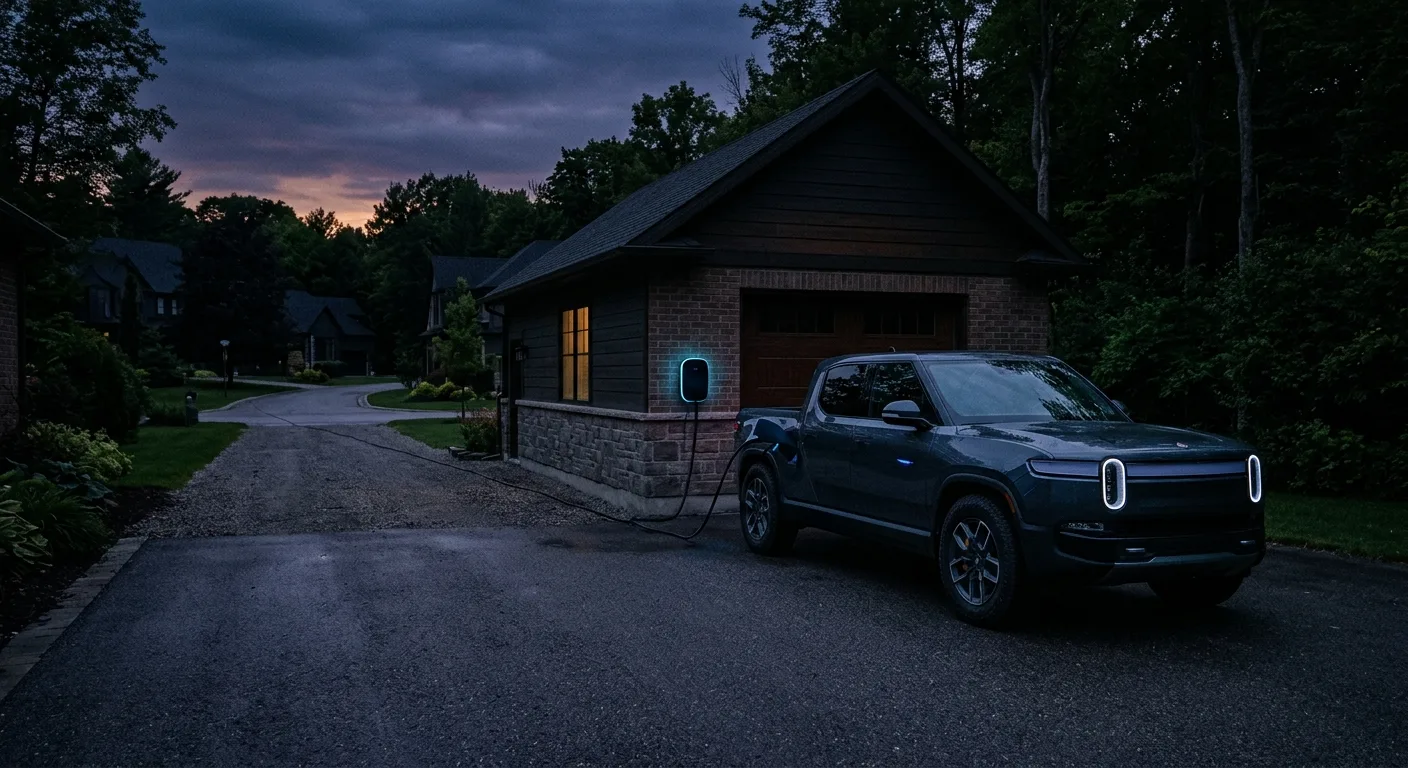
| Detached house, modern supply, off-street parking | Standard 7 kW wallbox, professionally installed | Get at least two quotes |
| Older home, limited supply | Smart charger with load management | May still need a supply check |
| Renter or planning to move | Portable charger on a suitable socket | Check tenancy terms first |
| Long daily commute | Higher-power unit if supply allows | Confirm the car's onboard charger limit |
| Shared or apartment parking | Landlord or management approval first | Cable routing and metering |
There is no single best charger. A £700-ish unit in one country can cost double in another, and the install can cost more than the box. Compare quotes on the total job, not the hardware.
Step-by-step action plan
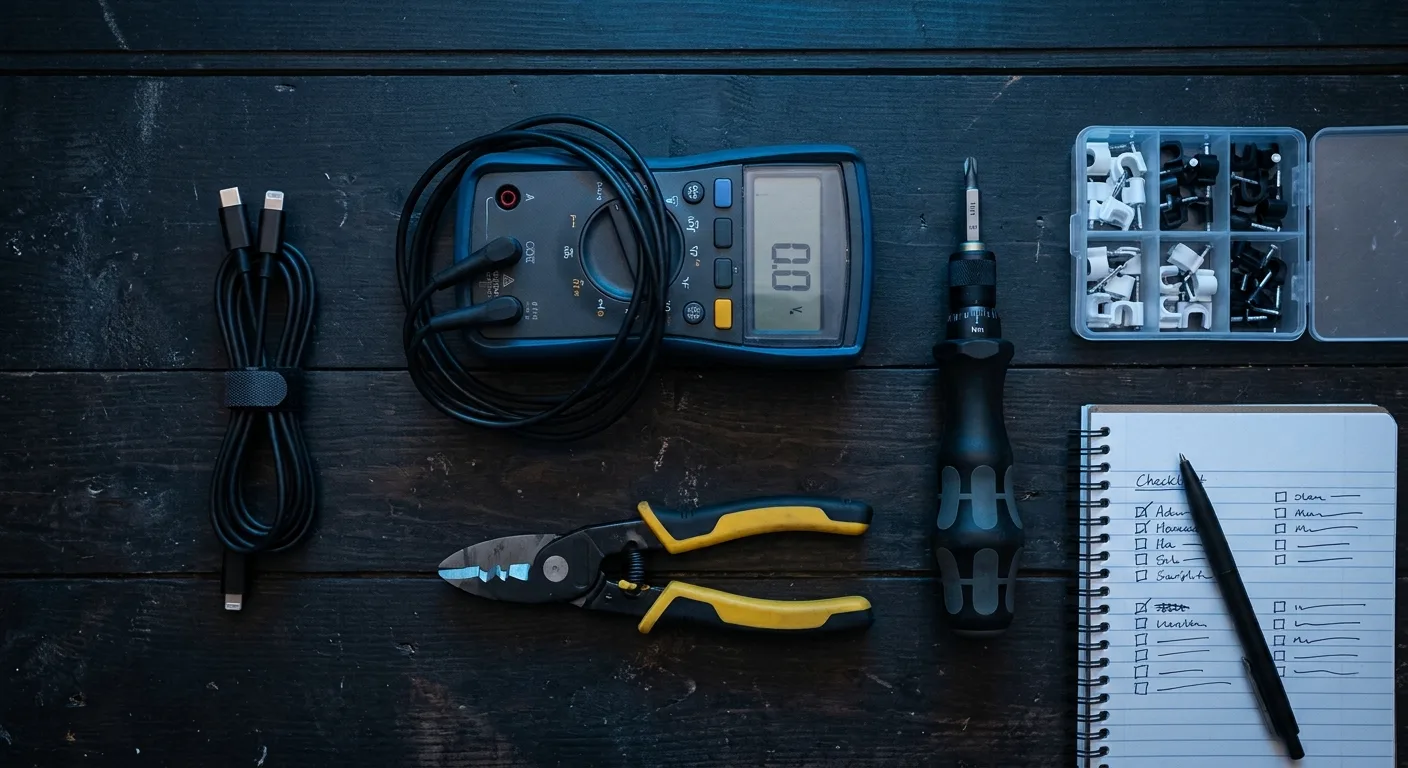
- Check your supply first. Ask an electrician to confirm your main fuse rating and whether your consumer unit has spare capacity. Do this before buying anything.
- Measure your parking. Note the distance from the consumer unit to where the car nose sits, and which side the charge port is on.
- Confirm the car's onboard charger limit. A beefy wallbox is wasted if the car caps intake lower. Check the spec or a head-to-head comparison.
- Check permissions. Renters need landlord sign-off; some areas need planning consent for certain installations.
- Get two or three itemised quotes. Ask what is included: cable, earth rod, protection, testing certificate, paperwork.
- Ask about load management if your supply is marginal.
- Book the install for after the car arrives, or at least confirm the delivery date.
- Test the charger on day one with a real charging session, not just a quick click.
The 10 mistakes to avoid
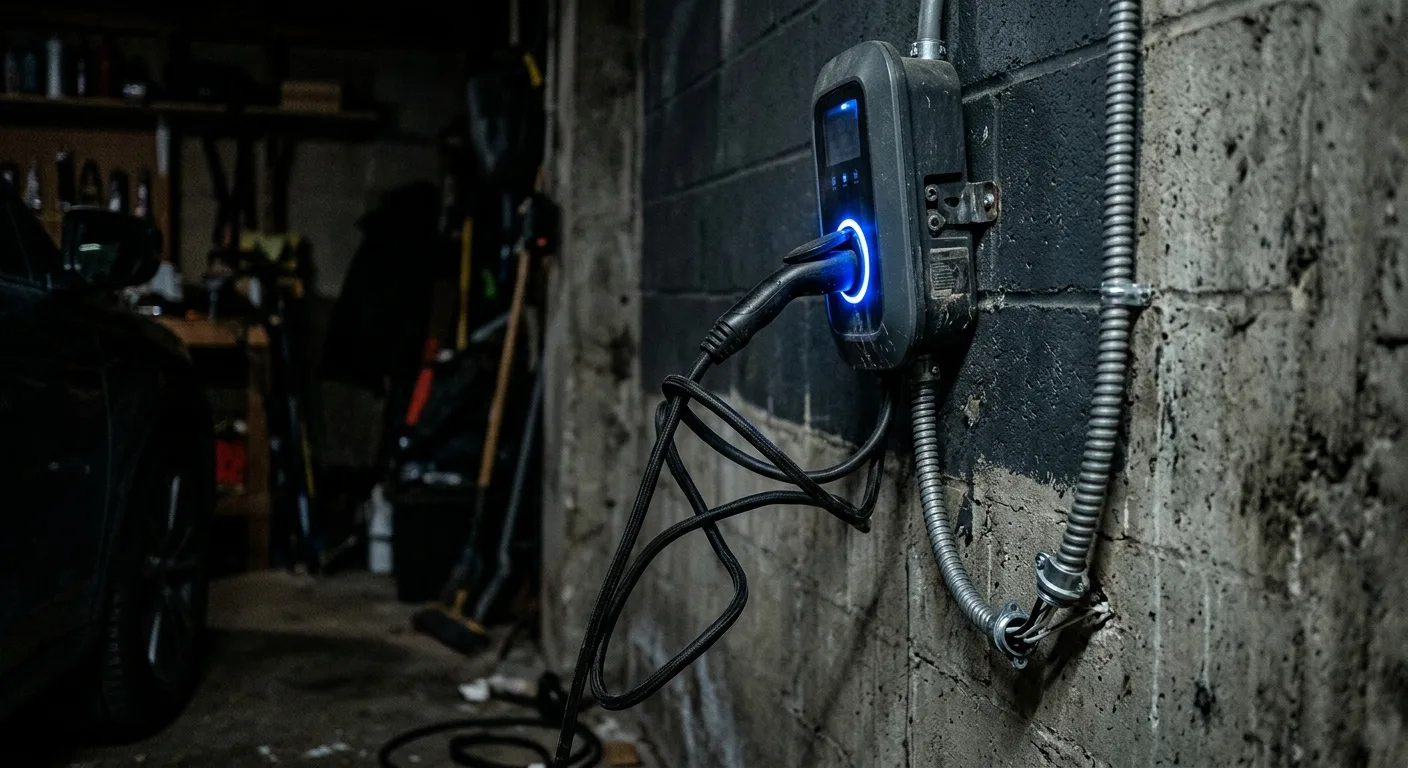
1. Buying the charger before checking your supply. Fix: get a supply check first. A cheap box that needs a costly upgrade is not cheap.
2. Ignoring cable length and routing. Fix: measure the actual run, including any awkward corners, and agree the route in writing.
3. Skipping the load calculation. Fix: ask the electrician to show you the numbers, especially if you have electric heating or a heat pump.
4. Assuming every charger fits every car. Fix: confirm connector type and the car's maximum AC charging rate.
5. Forgetting the paperwork. Fix: ask who submits the grant claim, the building notice, and the test certificate.
6. Mounting the unit where it gets baked or flooded. Fix: pick a sheltered spot, not the sunniest wall or a spot that pools water.
7. Using an extension lead or cheap adapter. Fix: never. Use the correct cable and a properly rated circuit.
8. Not testing load management under real conditions. Fix: run a full charge with the oven and heating on, and watch for tripping.
9. Ignoring the app and scheduling. Fix: set off-peak charging windows on day one to cut running costs.
10. Leaving the install to the last minute. Fix: book early, and keep a backup plan for the first week.
If something does go wrong after install, resist the urge to poke around the high-voltage side. Low-voltage checks like a tripped breaker or a dead display are fair game for a careful owner; anything involving the traction battery or main supply is a professional job. Our EV troubleshooting guides and diagnostic and fuse guides walk through safe first checks.
Common mistakes, one-line fixes
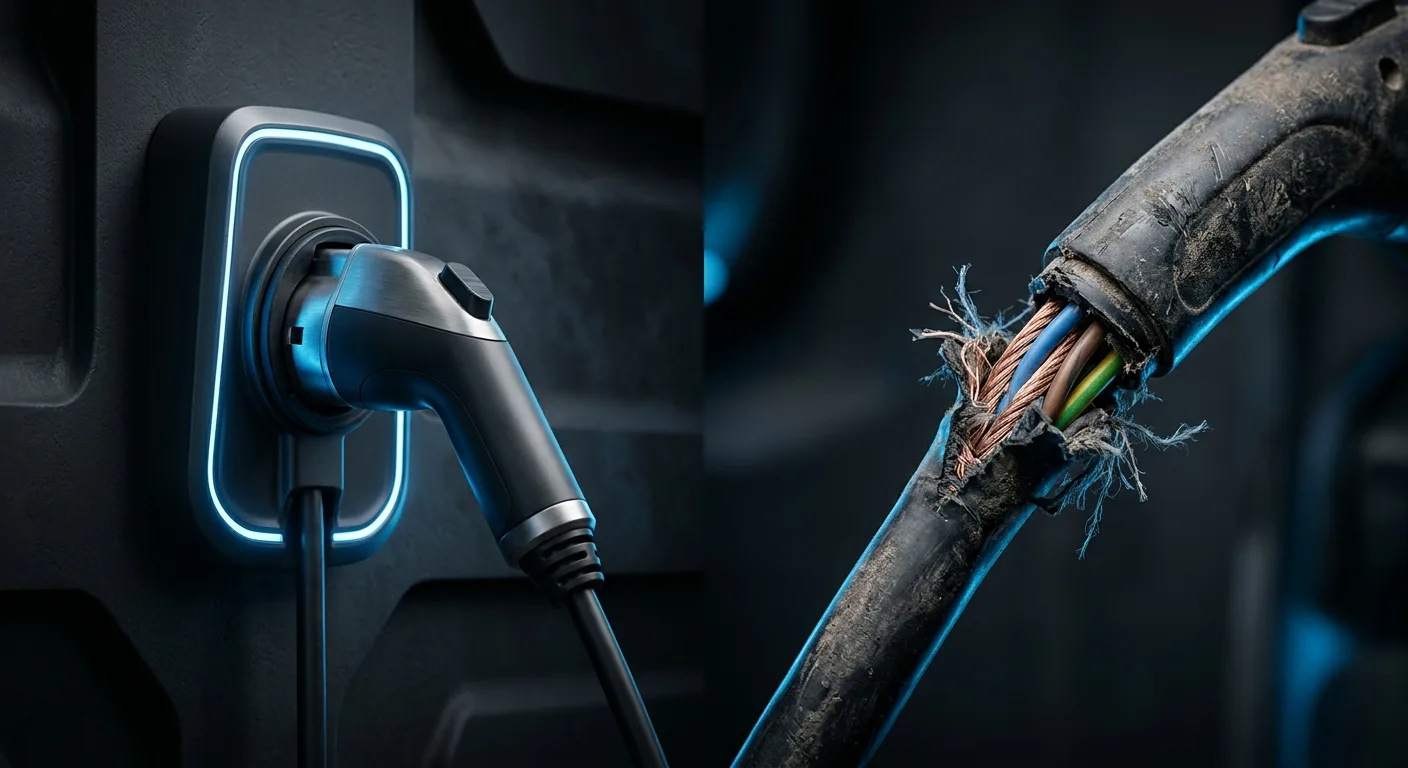
- Charger bought before supply check: check first, buy second.
- Cable too short: measure twice, order once.
- No load management: ask for it if your supply is tight.
- Forgotten permissions: confirm before booking.
- No certificate: insist on testing paperwork.
- No off-peak schedule: set it the day it is installed.
Expert takeaway
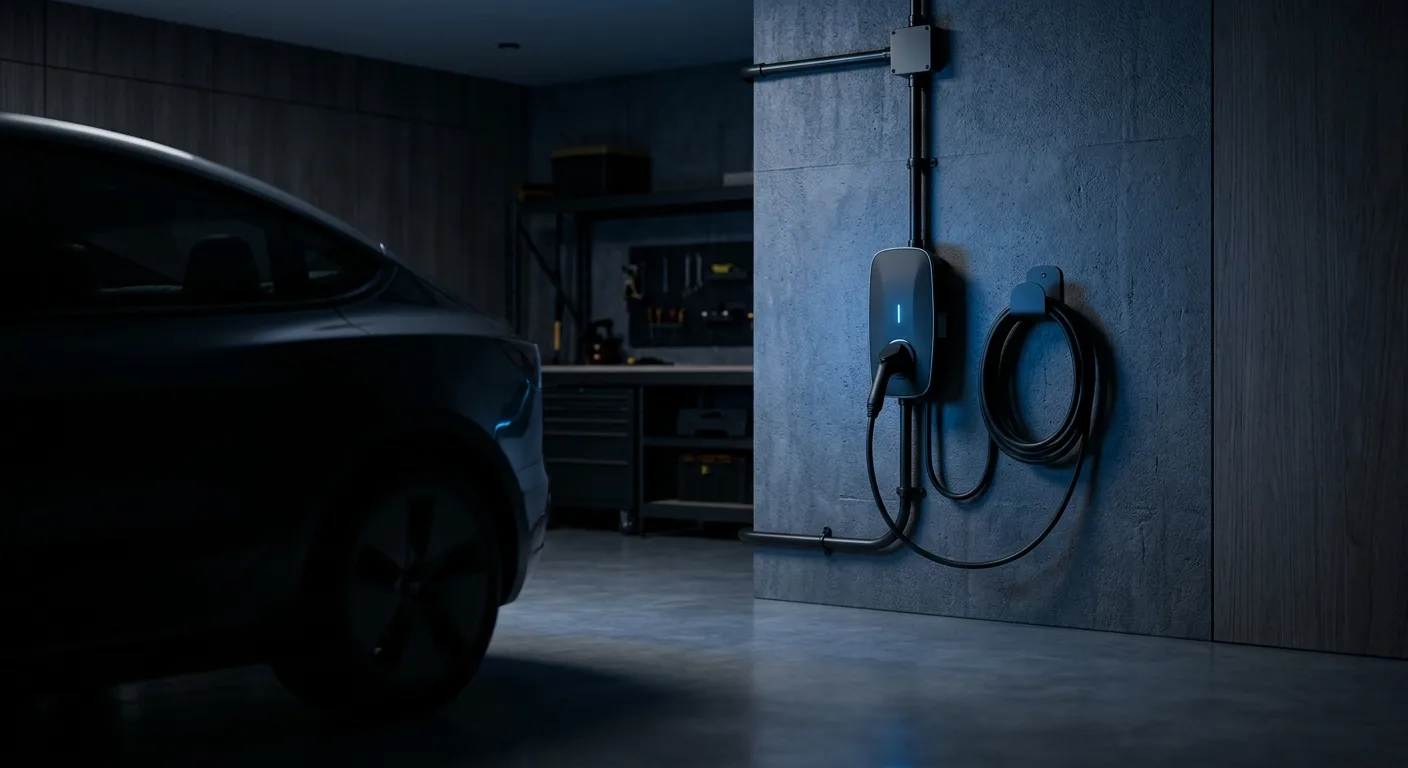
The single most important lesson: the installation matters more than the box. A modest charger on a properly sized, well-planned circuit will serve you better for years than a premium unit crammed onto a supply that was never checked. Spend your effort on the survey and the quotes, not the spec sheet.
FAQ
How much does home EV charger installation cost? It varies a lot by country, cable run and whether your supply needs work. Get itemised local quotes rather than trusting a single online figure.
Can I install an EV charger myself? Not the high-voltage circuit or consumer unit work. That requires a qualified electrician. Low-voltage setup like mounting and app configuration may be within reach, but check local rules.
Do I need a smart charger? Not always, but it helps with off-peak tariffs and load management. If your supply is limited, it is often the cheaper route than an upgrade.
How long does installation take? A straightforward install is often a few hours. Complex cable runs or supply work can stretch to a full day or more.
What if my charger keeps tripping the breaker? Stop and call the installer. Repeated tripping points to a load, wiring or protection issue that needs proper diagnosis, not a bigger fuse.
For more owner-focused guides and buying help, browse the EV blog.